
Picking
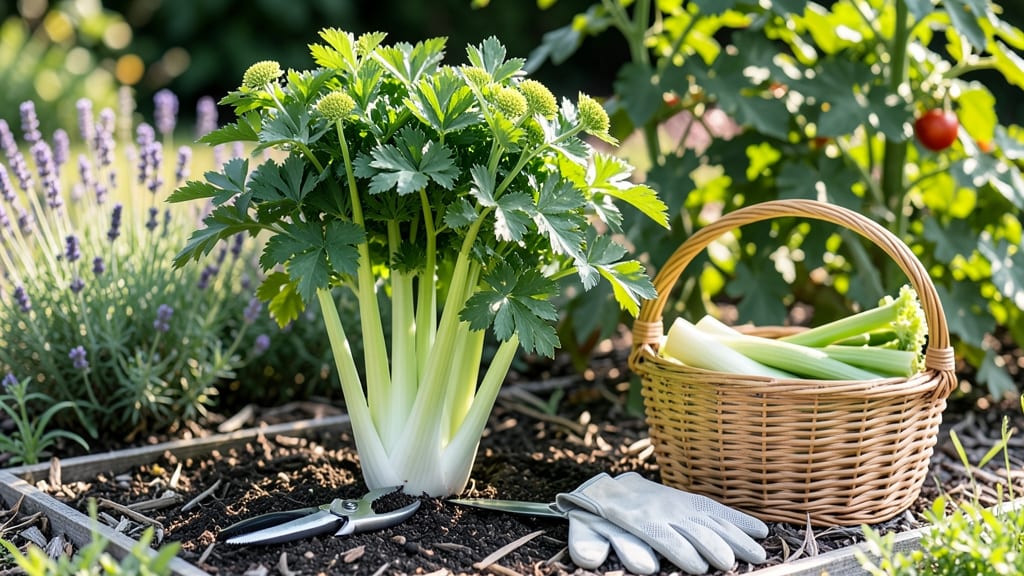
Harvesting garden celery at the right time turns your crisp 🥬 stalks into a flavorful success story—no bitter surprises here.
Picture this: You’ve nurtured your celery for months, only to pull a stalk and find it tough and woody. That’s the moment you realize timing is everything. The difference between restaurant-quality crunch and disappointment comes down to knowing when those stalks are perfectly tender.
Most gardeners wait too long, missing the sweet spot between 100-130 days after planting. But here’s the secret: The ideal harvest window isn’t just about days—it’s about stalk thickness, leaf color, and even the base’s firmness.
I’ll walk you through every trick to spot the perfect moment and keep your celery crisp for weeks.
From cutting techniques that encourage regrowth to storage hacks that banish bitterness, you’ll learn how to maximize your yield without sacrificing flavor. Let’s get those stalks into your kitchen at their peak!


Optimal celery harvest timing: days to maturity and seasonal windows
Timing your celery harvest correctly is the difference between restaurant-quality crisp stalks and bitter, woody disappointment. Most garden celery varieties reach maturity between 60 to 100 days, but exact timing depends on the variety and growing conditions.
Harvesting too early means small, underdeveloped stalks, while waiting too long leads to tough, fibrous textures and bitter flavors.
Understanding your climate zone and seasonal windows is key. In USDA Zone 6a, for example, spring-planted celery typically matures between July and September.
However, gardeners in warmer climates (like Zones 8-10) can extend harvests into late fall with proper care, while cooler regions may need to start seeds indoors 10-12 weeks before last frost for a successful harvest.
For cool-season varieties like Tall Utah or Utah Improved, aim for a spring planting in early spring (March-April) to avoid summer heat stress. These varieties take 90-120 days to mature, so plan accordingly.
In contrast, heat-tolerant varieties like Golden Self-Blanching mature faster (60-70 days) and thrive in late summer plantings (June-July), making them ideal for extending your harvest season.
If you're growing celery in warmer climates (Zones 8-10), focus on shade protection and consistent moisture to prevent bolting. In these regions, you can plant successive crops every 2-3 weeks from spring through early summer for a continuous harvest.
Meanwhile, gardeners in cooler climates (Zones 3-5) should prioritize early spring plantings and use row covers to protect plants from late frosts.
Pay close attention to soil temperatures—celery thrives in 50-75°F (10-24°C) soil. If temperatures rise above 80°F (27°C), growth slows, and stalks may become woody and bitter.
To combat this, use shade cloth (30-50%) during peak afternoon heat or grow celery under partial shade from taller plants like corn or sunflowers.
One of my favorite tricks for maximizing yield is to harvest outer stalks first while leaving the inner core intact. This allows the plant to continue producing for 2-4 weeks longer without sacrificing quality.
Just be sure to cut stalks at a 45-degree angle about 1 inch above the base to encourage regrowth and prevent disease.
In short-day climates (like the Pacific Northwest), celery may bolt prematurely if exposed to long daylight hours. To prevent this, use black plastic mulch to keep soil cool and reduce stress.
Conversely, in long-day climates (like the Midwest), focus on consistent watering and balanced fertilization to avoid nutrient deficiencies that can lead to poor stalk development.
Remember, celery bitterness is often a sign of stress—whether from drought, heat, or poor soil. If your stalks start tasting bitter, check your watering schedule and soil pH (aim for 6.
How to test celery readiness: 3 signs your stalks are perfectly harvestable
Determining when your garden celery is ready to harvest isn’t just about counting days—it’s about reading the plant’s signals. Celery that’s too young will be watery and bland, while overripe stalks become tough and bitter. The key is catching that sweet spot where texture, flavor, and crispness align perfectly.
I’ve learned the hard way that waiting too long turns my prized stalks into chewy disappointment, so I now rely on three foolproof tests to ensure every harvest is restaurant-quality.
First, let’s address the most common mistake: harvesting by calendar days alone. While most celery varieties mature between 100-130 days, environmental factors like temperature and sunlight can shift this timeline dramatically.
Instead of guessing, focus on these three visual and tactile cues that never fail me. They’ve saved me from countless bitter harvests and kept my kitchen stocked with crisp, flavorful celery all season.
🌱 Celery Readiness Checklist
- 1 Stalk Thickness: Gently squeeze the base of the thickest stalk. If it measures 1-2 inches in diameter and feels firm but not hard, it’s ready. Thin stalks (under 1 inch) need more time.
- 2 Leaf Color: Look for deep green, vibrant leaves that are tightly clustered. Yellowing or browning outer leaves signal maturity, while pale green leaves mean the celery needs more time in the ground.
- 3 Root Resistance: Gently tug on the outer stalks. If they resist slightly but pull out cleanly with minimal force, the plant is ready. No resistance? Wait a few days. Too much resistance? You’ve missed the window.
Let’s break down the stalk thickness test first, as it’s the most reliable indicator. When I run my fingers along the base of the stalks, I’m checking for that firm, plump feel—like a ripe avocado.
Thin stalks (under 1 inch) often lack the crisp texture we crave, while overly thick stalks (over 2.5 inches) can become fibrous. Pro tip: Use a ruler to measure the diameter if you’re unsure. I keep one handy in my gardening toolkit for quick checks.
The leaf color test is where many gardeners trip up. While celery leaves should always be green, the intensity of the color and the presence of slight yellowing at the base are your clues.
Dark, glossy green leaves mean the plant is still growing, while dull or yellowing outer leaves signal it’s time to harvest. I’ve found that morning sunlight enhances these color cues, so I always check my plants first thing in the morning for the most accurate reading.
Finally, the root resistance test is my favorite because it combines tactile feedback with visual confirmation. When you gently tug on the outer stalks, you’re testing whether the plant has fully allocated its energy to the edible parts.
If the stalks come out cleanly with just a little resistance, you’ve hit the perfect harvest window. This method also helps you avoid over-mature celery, which can become woody and bitter. I’ve used this test for years, and it’s saved me from more than a few disappointing harvests.
Once you’ve confirmed all three signs, it’s time to harvest. Use a sharp knife or pruning shears to cut the stalks at the base, leaving about an inch of the root intact. This encourages regrowth, giving you a second harvest in about 2-3 weeks.
Store your freshly harvested celery in the fridge with the ends submerged in water to maintain crispness for up to two weeks. With these tests, you’ll never second-guess your harvest timing again!