
How To
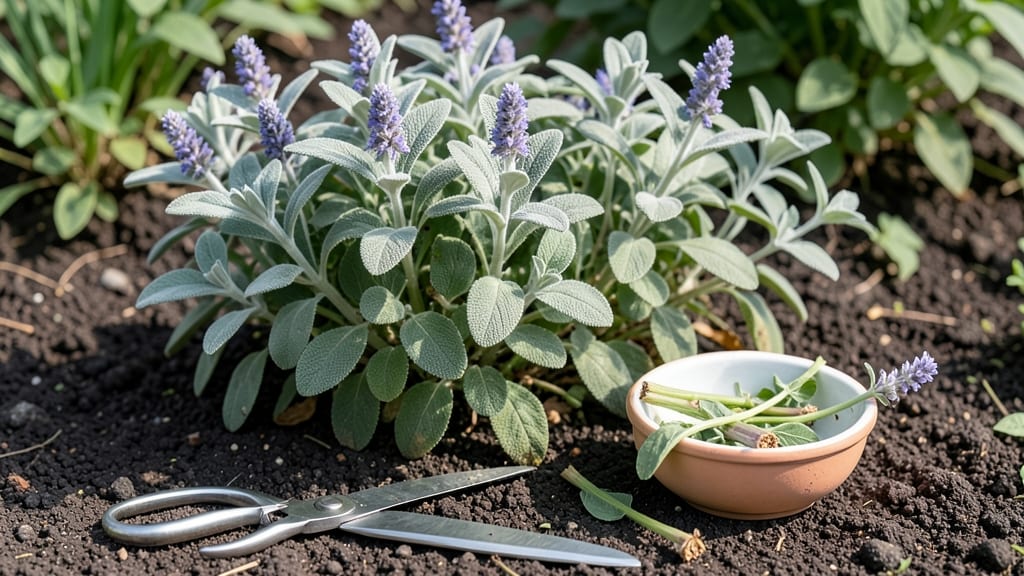
To harvest garden sage at its peak flavor, focus on timing and technique—cutting just before flowering delivers the richest, most aromatic leaves for cooking.
Picture this: you’re about to make a hearty stew, and your sage tastes like mild grass instead of that deep, earthy punch you remember. That’s the difference between harvesting too early or too late—and it’s all about knowing when your 🌿 sage is ready.
Most gardeners wait until late summer or early fall, when the plant is mature but hasn’t yet sent up flowers. That’s when the leaves pack the most flavor, and the stems are sturdy enough for clean cuts.
But there’s more to it than just the season—like how much to trim and when to stop to keep your plant thriving.
In this guide, I’ll walk you through the exact steps to harvest sage without weakening your plant, plus how to store or dry your bounty so you can enjoy that garden-fresh taste all year. Ready to turn your kitchen herbs into a flavor powerhouse?


Best time to harvest garden sage for peak flavor and regrowth
Timing your garden sage harvest is everything—cut too early, and you’ll get bland, underdeveloped leaves. Harvest too late, and the flavor shifts to bitter or woody.
The ideal harvest window for peak flavor is late summer to early fall (August through October), when the plant is mature but hasn’t yet flowered. This timing ensures the strongest earthy, piney aroma and the most robust regrowth for next year.
Spring harvesting is possible, but it’s a second-choice option. If you harvest in early spring, focus on new growth (the tender, light-green shoots) rather than the mature leaves.
This approach encourages bushier growth without sacrificing too much flavor. However, spring-harvested sage will never match the intensity of its fall counterpart.
Overharvesting in a single season can weaken your sage plant, so balance is key. Aim to harvest no more than one-third of the plant at a time, leaving enough foliage to fuel photosynthesis.
This rule applies year-round, but it’s especially critical in late summer, when the plant is directing energy toward both flavor development and preparing for dormancy.
🌿 When to Harvest Sage for Best Results
- 📅 Primary Harvest Window: Late summer to early fall (August–October) for peak flavor and regrowth.
- 🌱 Spring Harvest: Only harvest new growth (light-green shoots) in early spring to avoid stunting the plant.
- ✂️ Never Harvest: After the plant flowers—flavor declines, and the plant shifts energy to seed production.
- 🌡️ Temperature Check: Wait until soil temps are above 60°F—cold weather stresses the plant.
- 📏 Maturity Signs: Leaves should be plump, dark green, and strongly aromatic when crushed.
Your sage plant’s maturity stage is the best indicator of harvest readiness. Look for fully developed leaves that are at least 1–2 inches long and emit a distinct piney scent when rubbed between your fingers.
If the stems snap easily when bent (not brittle or woody), it’s time to harvest. Ignoring these signs leads to bitter, tough leaves that lose their culinary appeal.
Harvesting frequency directly impacts both flavor and plant health. For a bushier, more productive sage plant, prune lightly every 4–6 weeks during the growing season. This encourages lateral branching and denser foliage.
However, avoid heavy pruning in late summer, as the plant needs time to harden off before winter. Over-pruning now can leave it vulnerable to frost damage.
One common mistake gardeners make is harvesting sage after the first frost. While the leaves may still look green, the cold triggers woody, bitter compounds to develop. Always harvest before October 15 in most climates (USDA Zone 6a) to preserve that rich, herbal taste.
If you miss this window, wait until spring to harvest new growth again.
To maximize regrowth, always cut sage using clean, sharp pruners or scissors. Make cuts just above a leaf node (the point where leaves attach to the stem) at a 45-degree angle.
This angle helps water runoff avoid rotting the stem. Avoid tearing leaves by hand—it damages the plant and reduces future harvests.
If your sage plant is younger than 1 year old, hold off on heavy harvesting until it’s at least 12–18 inches tall. Young plants need all their energy to establish strong roots.
Even mature plants should never be stripped of more than one-third of their foliage in a single session. This rule protects the plant’s ability to photosynthesize and store energy for winter.
Pro tip: Mark your calendar for mid-September—this is the sweet spot for most gardeners in Zone 6a. By this time, your sage will have developed its strongest flavor while still having enough time to recover before frost.
For container-grown sage, harvest slightly earlier (early September) to account for slower recovery in pots.
Step-by-step guide to harvesting sage without damaging the plant
Now that you know the best time to harvest sage, let’s focus on the how. Proper harvesting technique ensures your plant stays healthy and produces flavorful leaves for years.
Start by selecting mature stems with fully developed leaves—these are typically the middle-aged branches (not the newest growth or oldest wood). Use clean, sharp pruners or scissors to make precise cuts, as tearing leaves can damage the plant and invite disease.
Always cut just above a leaf node (the point where leaves meet the stem) at a 45-degree angle. This angle helps water runoff avoid rotting the stem, and cutting above the node encourages new growth from that spot.
For a single harvest, aim to remove no more than one-third of the plant’s foliage—this prevents stress and ensures the plant can continue photosynthesizing efficiently.
If you’re harvesting for drying, choose stems with multiple leaves still attached. This makes hanging them easier and preserves more of the plant’s structure.
For immediate culinary use, you can strip individual leaves from the stems, but leave at least half the leaves on the plant to maintain its health. Never harvest more than 20% of the plant in a single session if you plan to use the leaves fresh.
⚠️ Common Harvesting Mistakes That Harm Sage
1. Cutting too close to the base: Always leave at least 2–3 inches of stem above the soil to avoid damaging the plant’s growth point. Cutting too low can kill the stem and leave unsightly stubs. ✂️
2. Overharvesting in one session: Removing more than one-third of the foliage weakens the plant, reducing its ability to photosynthesize and store energy. 🌱
3. Using dull tools: Dirty or dull pruners can crush stems and spread disease. Always sterilize tools with rubbing alcohol before and after use. 🔧
4. Harvesting after flowering: Once sage bolts (sends up flower stalks), the leaves become bitter and woody. Prioritize harvesting before flowers appear. 🌼
After harvesting, give your sage plant some post-harvest care to encourage regrowth. Water the plant deeply but lightly within 24 hours to help it recover from the stress of cutting.
Avoid fertilizing immediately, as this can burn the roots of a recently pruned plant. Instead, wait 2–3 weeks before applying a balanced fertilizer (like 10-10-10) to support new growth.
To promote bushier growth, pinch back the tip of new shoots after harvesting. This encourages the plant to branch out rather than grow tall and leggy. If your sage looks sparse after harvesting, consider lightly fertilizing in early spring to jumpstart new foliage.
Mulch around the base of the plant with organic matter (like straw or wood chips) to retain moisture and protect roots during winter.
For container-grown sage, harvesting requires extra care. Since potted plants have limited root space, never remove more than 10–15% of the foliage in a single session. After harvesting, check the soil moisture—containers dry out faster than in-ground plants.
Water thoroughly until it drains from the bottom, and place the pot in a shady spot for 24 hours to reduce stress. Container sage also benefits from annual repotting in early spring to refresh the soil and encourage vigorous growth.