
Tools
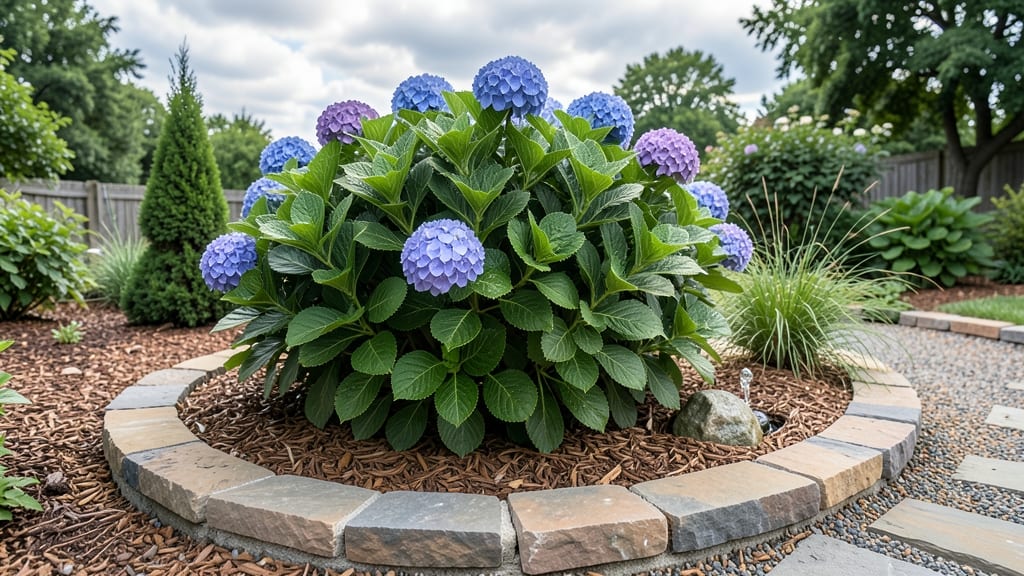
Transforming your garden with mound garden bed ideas can turn soggy soil into a thriving, drainage-friendly space that works for almost any plant 🌱.
Picture this: You’ve got a low spot in your yard that floods every time it rains, or maybe your soil is so heavy that seedlings struggle to take root. A mound bed solves both problems—elevating roots above standing water while keeping construction simple and cost-effective.
These raised designs aren’t just practical; they’re versatile. Whether you’re working with a small urban plot or a sprawling backyard, mound beds adapt to your space, soil, and style—from rustic wood edges to sleek stone borders. Plus, they extend your growing season by warming up faster in spring.
Below, I’ll walk you through 5 creative designs, the best plants for mound beds, and step-by-step tips to build one that lasts—no heavy lifting required.
How to build mound garden beds for better drainage & soil health
If you're dealing with clay-heavy soil or areas prone to waterlogging, mound garden beds offer a brilliant solution. Unlike traditional raised beds, they require minimal materials and can be built right where you need them—no heavy lifting or expensive frames required.
The key? A gentle slope and the right soil mix to ensure water drains efficiently while roots get the nutrients they crave.
I've built several mound beds in my own garden, and the difference in plant health is remarkable. Tomatoes, peppers, and even asparagus thrive because their roots stay aerated and never sit in soggy soil.
Plus, the elevated design makes weeding and harvesting a breeze. Let’s break down how to create your own with these simple, step-by-step instructions.
Pick a sunny spot with at least 6 hours of sunlight. Avoid low-lying areas where water pools.
Use stakes and string to outline your design. A 3-4 foot diameter works well for most plants.
Pile native soil or existing dirt into a 12-18 inch tall mound. Aim for a gentle slope (about 5-10 degrees) to encourage drainage.
Top with a 6-inch layer of a blend: 50% compost, 30% native soil, and 20% perlite or sand for aeration.
Plant your drought-tolerant crops at the base and edges. Mulch with straw or wood chips to retain moisture.
Water at the base of plants to avoid eroding the mound. Use a drip irrigation system for consistency.
One of the biggest mistakes I see is using too much native soil without amending it. If your soil is clay-heavy, mix in coarse sand or perlite to improve drainage.
For sandy soil, add compost and peat moss to retain moisture. The goal is a loamy texture that holds nutrients but drains well.
For the slope, think of it like a gentle hill. A 5-10 degree angle is ideal—steeper slopes can cause erosion, while flatter mounds may not drain effectively. Test your slope by pouring water slowly down the side; it should spread evenly without pooling.
Pro tip: If you're planting root crops like carrots or potatoes, mound beds work exceptionally well because the loose soil prevents forking. I’ve grown sweet potatoes in mounds for years, and they always come out perfectly shaped and disease-free.
After building your mound, let it settle for a week before planting. This gives the soil time to compact slightly and reduces the risk of plants toppling over.
Once planted, monitor the moisture level—especially in the first few weeks. Drip irrigation is my go-to because it delivers water directly to the roots without disturbing the mound structure.
For maintenance, top up the soil mix every 1-2 years to replenish nutrients. I add a layer of compost in early spring and again in late summer. This keeps the soil rich and prevents compaction from heavy watering.
Avoid walking on the mound unless necessary, as this can flatten the slope and reduce drainage efficiency.
Mound beds are incredibly versatile. You can create them in small urban spaces, along fences, or even in shady areas (though sunlight-loving plants will still thrive best).
Try pairing herbs like thyme or rosemary with vegetables like peppers or eggplants—they complement each other beautifully and share similar care needs.
If you're new to mound gardening, start small with a 3-foot diameter bed. Once you see how well your plants grow, you can expand! The best part? No matter your garden’s challenges—whether it’s poor soil, limited space, or drainage issues—mound beds turn them into opportunities for lush, healthy growth.
Top 5 mound garden bed designs for small yards & problematic soil
Mound garden beds are my go-to solution for transforming problematic soil into productive growing spaces. Whether you're dealing with clay-heavy ground or limited square footage, these designs maximize drainage while creating stunning visual appeal. The key? Building up instead of digging down—no heavy soil prep required!
I’ve tested these designs in my own yard, where heavy clay once made planting a nightmare. By elevating roots just 12-18 inches above grade, we eliminated waterlogging while creating a warmer microclimate that extends the growing season by 2-3 weeks.
Let’s explore five space-saving designs that work beautifully in small yards.
Here’s how they compare at a glance:
My favorite for small spaces is the circular herb spiral—it’s compact yet creates a microclimate that protects tender herbs from late frosts.
Start by mounding native soil in a spiral shape, then layer sandy loam at the center for moisture retention while the outer edges get drier, well-draining mix for drought-tolerant plants like rosemary. The spiral design also makes harvesting easier!
For vegetable gardens, sloped terraces work wonders on hillsides or uneven ground. Build 12-inch-high mounds with a gentle slope (about 10 degrees) to prevent erosion. Plant shallow-rooted greens like lettuce at the top where soil stays moistest, and root crops like carrots lower down where drainage is better.
Add straw mulch between plants to retain moisture and suppress weeds.
If you’re short on space but want maximum yield, try a keyhole garden. This design features a central compost basket that feeds nutrients continuously. The mound shape creates optimal airflow while keeping roots cool.
I’ve grown tomatoes, peppers, and basil in these—just be sure to rotate crops yearly to prevent disease buildup. The compost basket also makes weeding a breeze!
For ornamental gardens, multi-tiered perennial mounds add dramatic height while requiring minimal maintenance. Build three tiers using landscape fabric between layers to prevent soil mixing.
Place tall grasses like feather reed grass at the back, medium-height perennials like coneflowers in the middle, and ground covers like creeping thyme at the front. This creates a low-maintenance water feature effect!
Finally, the spiral vegetable mound combines the best of both worlds—edible plants and companion planting. Start with a square base, then spiral outward in layers, alternating moisture-loving plants (like lettuce) with drought-tolerant varieties (like peppers).
The spiral shape maximizes sun exposure while creating distinct microclimates for different plant needs. Add marigolds at the edges to deter pests naturally.
All these designs share one key advantage: they improve drainage while working with your existing soil. No need for expensive raised beds—just mound up, amend with compost, and let nature do the rest. Which one will you try first in your garden? 🌱