
Picking
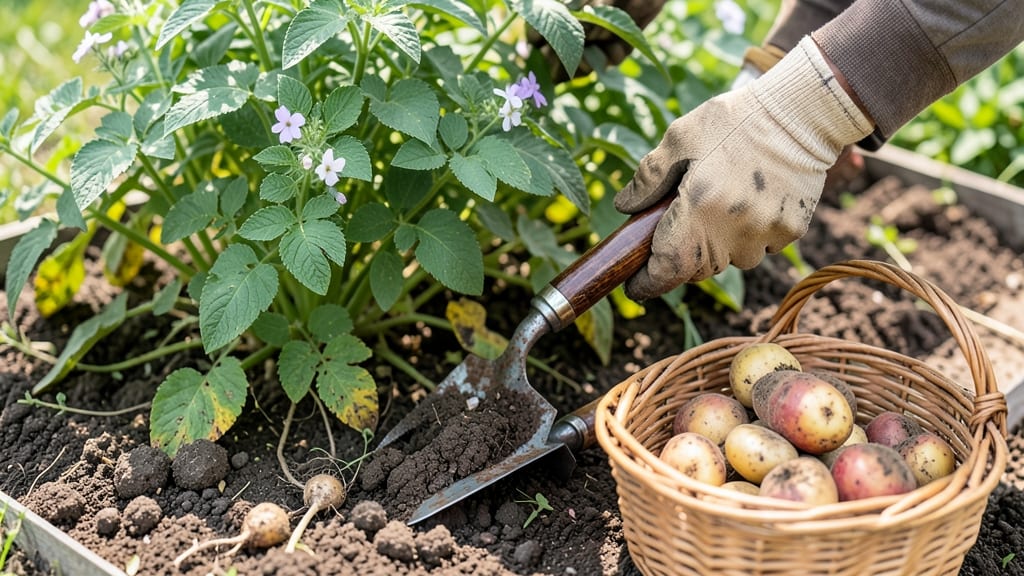
Harvesting potatoes from your garden at the right time means the difference between perfect spuds and tough, shriveled ones.
Picture this: you’ve spent weeks tending to your 🥔 plants, and now the question looms—when should you dig them up? Too soon, and you’ll end up with tiny, underdeveloped tubers. Too late, and they’ll turn woody and lose their flavor.
The key is catching them at just the right moment, when they’re firm, fully sized, and ready for the table or storage.
Most gardeners wait until the foliage yellows and dies back, but there’s more to it than that. Soil dryness, tuber maturity, and even the variety you’re growing all play a role.
In this guide, I’ll walk you through the foolproof finger-poke test, flower and foliage clues, and how to adjust for your region—so you never miss the window again.
Whether you’re after baby potatoes for early meals or full-sized spuds for long-term storage, you’ll learn exactly when to dig for the best results. Let’s get those potatoes out of the ground the right way!


How to use the finger-poke test for perfect potato harvest timing
Mastering the finger-poke test is my go-to trick for harvesting potatoes at peak flavor and size. This simple method lets you check tuber development without digging up your entire crop. The key is timing—test too early, and you’ll disturb young tubers; wait too long, and you risk tough, woody potatoes.
I’ve perfected this technique over years of gardening, and it’s saved me from countless disappointments.
Start testing about 2 weeks before your expected harvest date, which typically falls 70–120 days after planting. For early varieties like 'Red Norland,' begin testing around 90 days, while late varieties like 'Russet' may need up to 120 days.
The finger-poke test works best when the soil is warm and slightly dry, which usually happens in the afternoon on sunny days.
The finger-poke test is especially useful for storage potatoes because it lets you monitor progress without damaging the crop. For new potatoes (small, tender tubers), you’ll harvest earlier, but the same principle applies—just adjust your depth and timing.
I always test in the late afternoon when the soil has warmed up, as cooler mornings can give misleading results.
Step-by-Step Finger-Poke Test
- 1 Choose a sunny afternoon when soil is warm and slightly dry.
- 2 Gently poke your finger 4–6 inches deep into the soil near the plant base.
- 3 If you feel small tubers (pea-sized or larger), wait 1–2 weeks before testing again.
- 4 When you feel firm, golf-ball-sized tubers, it’s time to harvest for storage potatoes.
- 5 For new potatoes, harvest when tubers are 1–2 inches and soil feels dry and crumbly.
The texture of the soil is just as important as the depth of your poke. Ideal soil for testing should feel light and crumbly, like a well-aerated cake mix.
If it’s sticky or muddy, wait a day or two—this usually means the soil is too wet, and tubers won’t be ready. I’ve learned the hard way that testing in soggy soil leads to false positives, so always check the consistency first.
Pay attention to the size and firmness of the tubers you feel. Early in the season, you might encounter small, soft tubers that aren’t ready for harvest. These are often underdeveloped and won’t store well.
As the season progresses, the tubers will grow larger and firmer. When you can feel golf-ball to tennis-ball-sized tubers consistently, it’s a strong sign they’re ready for harvest.
Regional climate plays a huge role in harvest timing. In cooler climates (like USDA Zone 4), potatoes may take longer to mature, so start testing later in the season. In warmer climates (like Zone 8), you might begin testing as early as 80 days after planting.
I adjust my testing schedule based on local weather patterns—if spring was cold, I’ll wait an extra week before testing.
One common mistake I see gardeners make is testing in the morning when the soil is cool and damp. This can make tubers feel smaller than they actually are. Always test in the afternoon, when the soil has had time to warm up and dry out slightly.
Pro tip: If you’re unsure, test at the same time each day for consistency.
Once you’ve confirmed tubers are ready, it’s time to harvest! Use a garden fork to gently loosen the soil around the plant, then lift the tubers carefully. Avoid dropping them or exposing them to direct sunlight immediately after harvest—this can cause greening and make them inedible.
Cure your potatoes in a dark, dry place for 1–2 weeks before storing.
With practice, the finger-poke test becomes second nature, and you’ll never again guess when to harvest your potatoes. This method has saved me from countless underdeveloped tubers and woody spuds, ensuring a bountiful harvest every season. Give it a try—your future potato dishes will thank you! 🥔
Flower and foliage clues: when to stop waiting and start digging
Your potato plants are sending you clear signals about harvest time—you just need to know what to look for. The flower blooms and foliage changes are nature’s way of telling you when to grab your fork and start digging.
Ignoring these clues can mean missing the perfect window for harvesting tender, flavorful potatoes.
Most potato varieties bloom 4-6 weeks after planting, but the timing varies by type. Early varieties like 'Red Pontiac' may flower sooner, while late varieties like 'Russet Burbank' take longer. Pay attention to when the flowers appear—they’re your first hint that tubers are forming below ground.
Here’s the key: once the flowers fade and the foliage starts yellowing, it’s time to check for tuber maturity. But don’t wait too long—the moment the plants completely die back (turn brown and crispy), your potatoes may already be past their prime, turning woody and losing flavor.
| Sign | Early Varieties (60-90 days) | Mid Varieties (90-110 days) | Late Varieties (110-120+ days) |
|---|---|---|---|
| Flower Appearance | 4-5 weeks after planting | 5-6 weeks after planting | 6-7 weeks after planting |
| Foliage Yellowing | Starts 2 weeks after flowering | Starts 3 weeks after flowering | Starts 4 weeks after flowering |
| Complete Dieback | Harvest within 1 week | Harvest within 2 weeks | Harvest within 3 weeks |
| Soil Condition | Dry 1-2 inches deep | Dry 2-3 inches deep | Dry 3+ inches deep |
Regional climate plays a huge role in timing. In warmer climates like Zone 9 or 10, potatoes may mature faster and need harvesting earlier in the season.
Conversely, in cooler zones like 3 or 4, you might extend the growing season with row covers or black plastic mulch to delay harvest until late summer.
One trick I swear by? Watch for vine dieback—when the stems turn brown and crispy. This is your last call before the tubers start converting starches to sugars and becoming sweet (which is fine for eating but not ideal for storage).
If you’re growing for long-term storage, aim to harvest just as the foliage starts yellowing but before it fully dies.
For immediate eating, you can harvest smaller "new potatoes" as soon as they reach 1-2 inches in size, even before the plants flower.
But for the best balance of size and flavor, wait until the foliage shows 50% yellowing—that’s when most tubers are fully mature but still tender.