
Picking
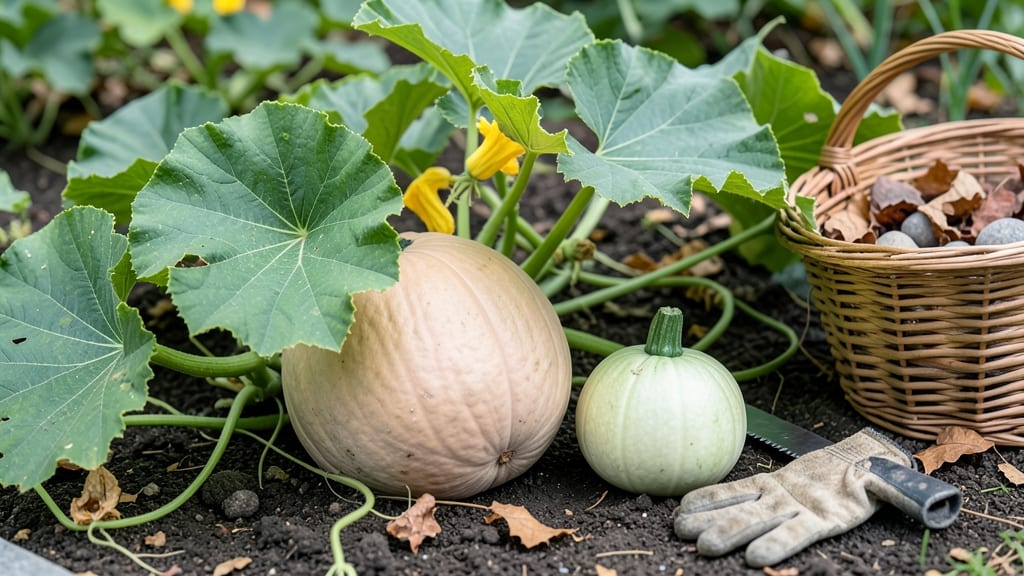
Picking butternut squash from your garden at the right time ensures the best flavor and storage life — and skipping these three visual cues could mean wasting your harvest.
This 🎃 garden staple takes patience, but once you know what to look for, you’ll never second-guess timing again. Too early, and the flesh stays stringy; too late, and frost ruins everything. The secret is in the skin, the stem, and the seeds.
In USDA Zone 6a, where frost arrives by mid-October, you’ve got just a few weeks to nail the harvest. Check your squash weekly starting around 90 days after planting, and you’ll catch them at peak sweetness.
Below, I’ll walk you through the exact signs to watch for — plus how to store your harvest so it lasts through winter. No more guesswork, just perfect, ready-to-cook squash every time.
3 Visual cues to determine when butternut squash is ready for harvest
Harvesting butternut squash at the perfect moment ensures maximum flavor and storage life. Unlike many vegetables, these winter squash varieties don't ripen after picking, so timing is everything. I've learned that waiting until all three key visual cues appear guarantees the best results for both fresh eating and long-term storage.
First-time growers often struggle to distinguish between "almost ready" and "perfectly ripe" squash. The good news? Butternut squash provides clear, visible signals when it's time to harvest. By focusing on these three specific indicators—skin color, stem condition, and seed development—you'll never guess again.
Let me walk you through each one with practical examples from my own garden.
Here's what you need to look for to know your butternut squash is ready for harvest:
Look for a deep, uniform orange hue that's hard to pierce with your fingernail. Pale or mottled skin means it needs more time.
The stem should snap easily when bent—like a dry twig. If it bends without snapping, wait 3-5 more days.
Cut open a small section to check for fully developed seeds. They should be plump and dark-colored, not shriveled.
Let me explain why the skin color is your first clue. Immature butternut squash often has a pale, almost greenish tint where it touched the soil. When fully ripe, the entire surface turns a rich, golden-orange color.
I test this by pressing my thumbnail into the skin—if it doesn't leave a mark, it's ready. This simple test has saved me from harvesting too early many times.
The stem condition is equally important because it indicates the plant's natural drying process. When the stem dries and snaps cleanly, it means the squash has stopped growing and is ready for harvest.
I've noticed that this change often happens first thing in the morning, so that's my preferred time to check. Remember, the stem should separate from the vine easily—if it resists, give it more time.
Don't overlook the seed development as your third cue. While you don't need to cut open every squash, checking one or two can give you confidence in your harvest timing. The seeds should be fully formed and dark brown, not white or translucent.
This internal cue confirms what you're seeing externally with the skin and stem. Pro tip: Use a small, sharp knife to make a discreet cut near the blossom end.
Timing your harvest correctly also depends on your local climate. In cooler regions, butternut squash may mature earlier due to shorter growing seasons. I've found that in Zone 6a, we typically harvest between mid-October and early November.
Pay attention to your first frost date—if frost is imminent, harvest even if one or two cues aren't perfectly met, as frost can damage the squash.
One common mistake I see is waiting until the vines completely die back. While this can indicate ripeness, it's often too late. By then, the squash may have absorbed too much moisture from the soil, making it more prone to rot during storage.
That's why I recommend harvesting when you see all three visual cues, even if the vines still look healthy. This approach has given me consistently better results for both fresh use and long-term storage.
After harvesting, cure your butternut squash properly by placing it in a warm, dry spot for about 10 days. This curing process enhances flavor and extends storage life. I like to use a sunny windowsill or a well-ventilated garage.
During this time, continue checking the skin color—it should deepen even more as it cures. Proper curing is the final step to ensure you've gotten the most out of your garden's hard work.
Remember these three visual cues next harvest season, and you'll consistently pick butternut squash at its peak. The satisfaction of knowing you've harvested at the perfect moment makes all the difference in both flavor and storage success. Happy harvesting! 🎃
How long does butternut squash take to mature and when to check for ripeness
Butternut squash typically matures between 75 to 100 days after planting, depending on your climate and variety. In USDA Zone 6a, where I garden, I aim for a 90-day timeline to ensure sweet, fully developed squash before the first frost hits around mid-October.
Starting your seeds indoors 4-6 weeks before your last frost date gives them a head start, while direct sowing after frost works too if you’re patient.
To stay on track, I mark my calendar 75 days post-planting as the earliest I’ll check for ripeness. This gives me a 2-3 week window to monitor squash weekly for the perfect harvest.
Missing this window means risking frost damage or overripe squash that spoils quickly. The key is consistency—don’t skip those weekly inspections!
| Stage | Action | Days After Planting |
|---|---|---|
| Seedling Emergence | Thin to 2-3 ft apart | 10-14 |
| Flowering Begins | Hand-pollinate if needed | 30-40 |
| First Squash Forms | Check soil moisture | 45-50 |
| Ripeness Check Begins | Inspect weekly for color/stem | 75-80 |
| Harvest Window | Pick when rind is hard | 90-100 |
Once you hit the 75-day mark, I recommend checking your squash every 5-7 days for ripeness. Look for a deep orange skin that’s hard to pierce with your fingernail—this is your first clue.
I also bend the stem near the squash; if it snaps cleanly, it’s ready. Pro tip: Avoid harvesting on rainy days to prevent rot during curing.
If your squash isn’t ready by 100 days, don’t panic. Some varieties take longer, especially in cooler climates. In my garden, I’ve had Waltham Butternut mature in 85 days while Long Island Cheese stretched to 110 days.
Always check the seed packet for variety-specific timelines, and adjust your planting schedule if needed for next year.
After harvesting, let squash cure in a dry, shady spot for 10 days to harden the skin further. This step boosts storage life to 2-3 months in a cool, dark place.
I store mine on wooden pallets to improve airflow and prevent spoilage. With this routine, you’ll enjoy homegrown butternut squash all winter long!