
Picking
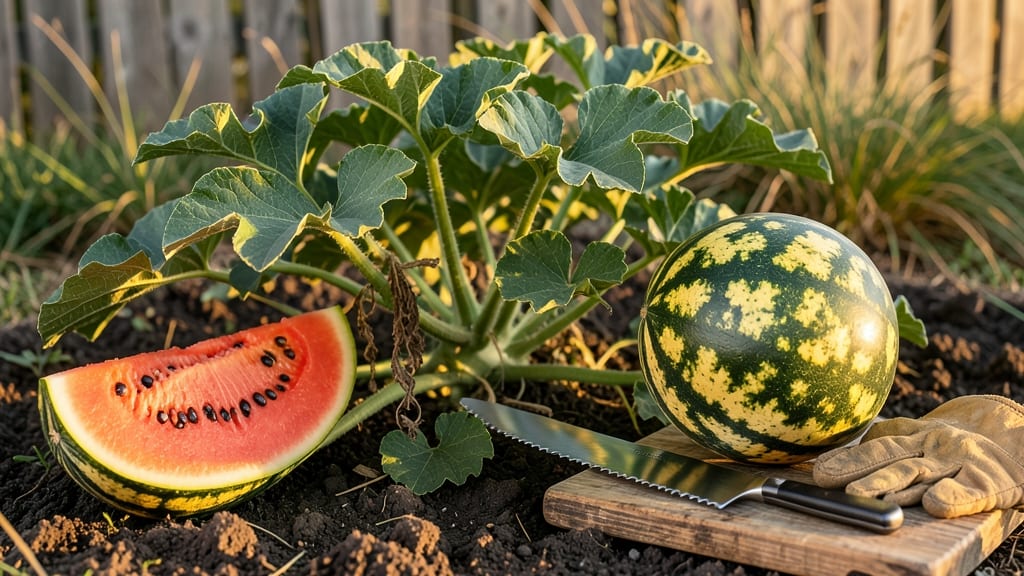
To pick watermelon from your garden at the perfect moment means avoiding bland, watery flesh or overripe disappointment—so timing is everything.
Picture this: you’ve waited all summer for that first juicy slice, only to cut into a mealy, underripe mess. Or worse, a mushy, seedy letdown because you waited too long. The difference between these outcomes? Knowing exactly when to harvest your 🍉—and the secret lies in three simple, science-backed tests.
Most gardeners rely on color or size alone, but those cues can trick you—especially with heirloom varieties. Instead, I’ll walk you through the thump test, the ground spot check, and the tendril color method, plus how to adjust for your local climate and variety.
No guesswork, just foolproof ripeness every time.
By the end, you’ll never second-guess whether your watermelon is ready—just grab your basket and enjoy that first sweet bite at its peak.

3 Scientifically proven field tests to determine watermelon ripeness
Harvesting a watermelon at the perfect moment transforms your garden labor into sweet, juicy rewards. Too soon, and you’ll end up with watery, bland fruit. Too late, and you risk overripe, seedy disappointment.
The key lies in these three field-tested methods—each backed by science and proven by gardeners like me over years of trials. These tests work for most varieties, but I’ll share when to adjust for heirloom or seedless types later.
Start with the tendril test, the most reliable indicator for vine-ripened watermelons. Look for the small tendril nearest the fruit’s stem—when it turns brown and crispy, that’s your cue.
This method works best for traditional varieties like Sugar Baby or Crimson Sweet, where the vine naturally signals ripeness. For seedless varieties, this test still applies but may be slightly less dramatic due to their different growth patterns.
Next, try the thump test, a classic that’s surprisingly accurate. Give the watermelon a firm knock with your knuckles—a deep, hollow sound means it’s ripe, while a dull thud suggests it needs more time.
Pro tip: Compare two melons side by side. The one with the louder, clearer thump is your winner. Avoid testing on soft-spotted melons, as they’re likely overripe or damaged.
Finally, check the ground spot where the watermelon rests. A creamy yellow or white patch on the underside near the stem is a foolproof sign of ripeness. This color change happens because chlorophyll breaks down as the fruit matures.
For striped varieties like Charentais, look for the stripes to darken fully—pale stripes mean it’s not ready yet.
| Test Method | What to Look For | Best For | Common Mistakes |
|---|---|---|---|
| Tendril Test | Brown, crispy tendril near stem | Traditional varieties | Ignoring all tendrils (check nearest one) |
| Thump Test | Deep, hollow sound when tapped | All varieties (compare melons) | Testing soft or damaged melons |
| Ground Spot Check | Creamy yellow/white patch | Heirloom & striped varieties | Checking wrong side of melon |
The tendril test is my top pick for traditional watermelons because it’s the most consistent indicator of internal sweetness. However, some seedless varieties like Crimson Sweet may not show as dramatic tendril changes.
In these cases, combine tests—if the tendril is brown but the thump sounds dull, wait another 2-3 days before harvesting.
For heirloom varieties with striped or patterned rinds, prioritize the ground spot check. These melons often have thicker rinds, making the thump test less reliable. Look for the cream-colored patch to appear on at least 50% of the underside—this is your green light to harvest.
If the patch is small or still green, the melon needs more time on the vine.
Avoid these common mistakes that lead to poor harvests: Testing melons too early in the season (before 70 days for most varieties), ignoring vine health (wilted vines mean stress, not ripeness), or harvesting in extreme heat (melons taste better when picked in morning shade).
Even the best tests fail if the plant isn’t healthy—always pair these methods with observing vine condition.
Pro move: Harvest on a cloudy day or in the early morning to avoid sunburn damage to the rind. Use a sharp knife or pruners to cut the stem, leaving 1-2 inches attached to the melon.
This prevents rot and bruising, extending shelf life. Store ripe watermelons in a cool, dry place (50-55°F) for up to 2 weeks—but
Bonus signs of perfect watermelon ripeness (beyond the basics)
Once you’ve mastered the classic ripeness tests, take your watermelon harvesting skills to the next level with these advanced indicators. These subtle cues—often overlooked—can reveal whether your fruit is truly at its peak, especially for heirloom or seedless varieties that don’t follow typical patterns.
Paying attention to these details ensures you’re harvesting at the absolute sweetest moment, not just "good enough."
Start by examining the vine itself. When a watermelon is ready, the main vine near the fruit will begin to yellow and dry out, almost like crisp autumn leaves. This isn’t just cosmetic—it’s a sign the plant is redirecting its energy to ripen the fruit.
For seedless varieties, this vine yellowing often appears slightly earlier than in traditional watermelons, so don’t wait too long.
Rind texture is another game-changer. Run your fingers over the surface: a perfectly ripe watermelon’s rind should feel slightly waxy and resilient, almost like a well-waxed car. Press gently—if the skin springs back immediately and doesn’t leave a dent, it’s ready. Heirloom varieties often have thicker rinds, so they’ll feel firmer even when ripe.
Now, check the stem drying pattern. The stem where the watermelon connects to the vine should start to shrink and darken, almost like it’s pulling away from the fruit. If you gently twist it, it should separate cleanly—this is your cue to harvest.
In hot climates, this drying happens faster (sometimes in as little as 3 days), while temperate zones may take up to a week.
🌱 When to Pick Watermelon from Garden: Advanced Timing Guide
- 🌡️ Hot Climates (Zones 8-11): Harvest 4-7 days after vine yellowing begins; seedless varieties ripen 2-3 days faster.
- 🌬️ Temperate Climates (Zones 4-7): Wait 5-10 days after vine yellowing; heirlooms may need the full 10 days.
- 🌱 Seedless Varieties: Pick when rind is deeply striped and stem shrinks visibly; sweetness peaks earlier than traditional types.
- 🍉 Heirloom Varieties: Wait until cream-colored spot on underside is fully yellow; may take 1-2 weeks longer than hybrids.
- 📅 Seasonal Adjustments: Early summer plantings (pre-June) ripen faster; late plantings (post-July) may need extra time.
Don’t overlook the underside of the watermelon, where it rested on the ground. A fully ripe fruit will have a cream-colored or yellowish spot—this is where sunlight bleaches the skin.
If this spot is still white or green, give it another 2-3 days. For striped varieties, the stripes should be bold and uniform, not fading or patchy.
Finally, listen to your watermelon. Give it a firm tap with your knuckles—if it sounds deep and hollow, it’s ready. A dull thud means it’s still developing. This works best in warm afternoons when the fruit’s internal sugars have fully developed.
Pro tip: Seedless watermelons often sound slightly less hollow at peak ripeness, so combine this test with the vine check.
By combining these advanced signs with the classic tests, you’ll never miss the perfect harvest window again. Now grab your shears, enjoy that first slice, and savor the sweet reward of your gardening efforts! 🍉