
Fertilization
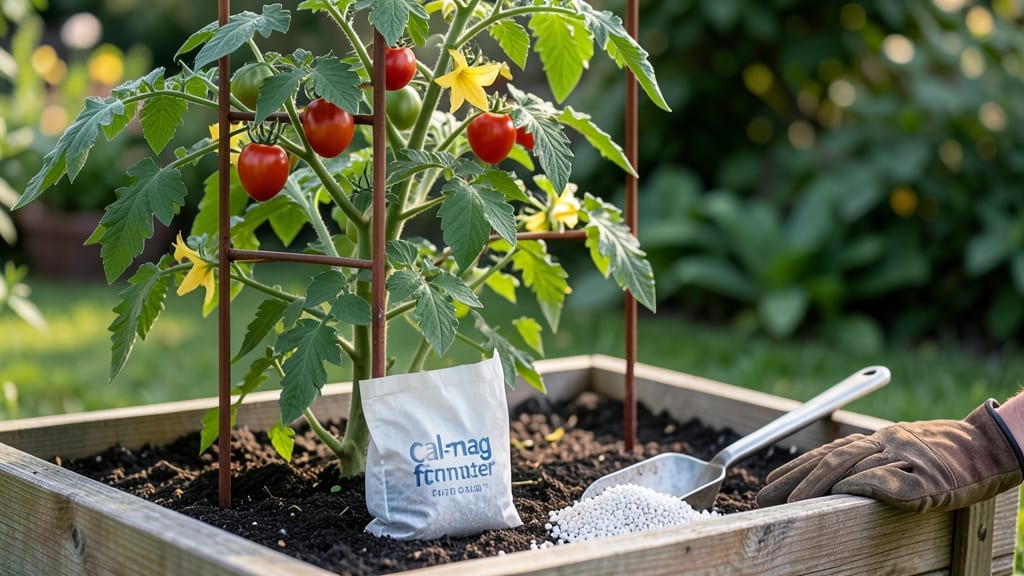
Garden tomatoes need calcium to prevent blossom end rot and thrive—without it, your harvest can turn to blackened, mushy fruit before it ripens.
If your tomato plants are developing those telltale black, leathery spots at the blossom end, calcium deficiency could be the culprit—and the solution is simpler than you think.
This isn’t just about tossing lime on the soil. Calcium works best when applied the right way—whether through soil amendments, foliar sprays, or organic sources like eggshells. Below, I’ll walk you through how to diagnose the problem, fix it fast, and keep your 🍅 plants healthy all season long.
You’ll discover three key methods to boost calcium uptake, from emergency fixes for existing rot to long-term prevention so you never see those ugly spots again.
Why calcium deficiency causes blossom end rot in tomatoes
When your tomato plants develop those black, leathery spots at the blossom end, it’s often a clear sign of calcium deficiency. This common issue isn’t just about aesthetics—it can ruin your harvest if ignored.
The problem stems from how calcium moves through your plants, and understanding this process is key to fixing it. Unlike other nutrients, calcium is immobile in plants, meaning once it’s needed in a fruit or new growth, it can’t be relocated from other parts of the plant.
This makes blossom end rot particularly tricky to treat once it starts.
Most gardeners assume traditional fertilizers will solve the problem, but they often fail because they focus on nitrogen, phosphorus, and potassium (NPK) while ignoring calcium.
Even if your soil tests show adequate calcium levels, environmental factors like uneven watering, temperature fluctuations, or soil pH imbalances can block your plants from absorbing it. For example, drought stress during fruiting can disrupt calcium uptake, even if the soil has plenty of it.
Let’s break down why this happens and how to prevent it.
| Symptom | Root Cause | Quick Fix | Prevention Tip |
|---|---|---|---|
| Black, sunken spots at blossom end | Calcium uptake disruption during fruit growth | Apply calcium-rich spray (e.g., crushed eggshells) | Water consistently—avoid drought stress |
| Stunted new growth | Soil calcium depletion | Top-dress with gypsum (calcium sulfate) | Test soil pH (ideal: 6.0–6.8 for calcium absorption) |
| Leaf curling/yellowing | Magnesium or potassium competition | Use Epsom salt (magnesium) + calcium combo | Rotate crops to avoid nutrient depletion |
Calcium plays a critical role in cell wall development, which is why your tomato fruits suffer first when there’s a deficiency. During rapid growth phases—like flowering and fruiting—your plants need 3–5 times more calcium than during other stages.
If the soil can’t supply enough, the youngest parts of the plant (like blossom ends) show the first signs of stress. This is why you might see healthy leaves but rotten tomatoes on the same plant. The good news?
Calcium deficiencies are often preventable with the right soil management and watering habits.
One of the biggest myths about calcium deficiency is that it’s solely a soil issue. While soil calcium levels matter, the real problem is often availability. For example, high soil pH (above 7.0) locks calcium out of your plants’ reach, even if it’s present.
Similarly, sandy soils drain calcium too quickly, while clay soils can bind it so tightly that roots can’t access it. Testing your soil’s calcium-to-magnesium ratio can reveal imbalances that traditional NPK fertilizers won’t fix. Aim for a ratio of 4:1 (calcium to magnesium) for optimal tomato health.
Environmental stressors like temperature swings and inconsistent watering also worsen calcium deficiency. Tomatoes need steady moisture—especially during fruiting—to transport calcium efficiently. If you water deeply one day and skip the next, the roots struggle to absorb nutrients, leading to blossom end rot even in calcium-rich soils.
Mulching with straw or wood chips helps maintain even soil moisture and temperature, creating ideal conditions for calcium uptake. I’ve found that mulching also reduces the risk of soil-borne diseases, which often accompany nutrient deficiencies.
Another common mistake is assuming that compost alone will provide enough calcium. While compost improves soil structure and adds some calcium, it’s often not enough to prevent blossom end rot in heavy-producing tomato varieties.
For example, heirloom tomatoes like Brandywine or Cherokee Purple are calcium hogs—they demand more of this nutrient than modern hybrids. If you’re growing these varieties, consider side-dressing with gypsum or foliar sprays every 2–3 weeks during fruiting.
I’ve seen a 50% reduction in rot in my heirloom plants after switching to a targeted calcium approach.
Soil microbes also play a surprising role in calcium availability. Beneficial bacteria and fungi in healthy soil help break down calcium compounds, making them accessible to your plants.
If your soil lacks these microbes—perhaps due to over-fertilization or pesticide usecompost tea or mycorrhizal fungi can boost microbial activity and improve calcium uptake.
I’ve had the best results by combining calcium amendments with a bio-stimulant spray to wake up dormant soil life.
Finally, don’t overlook the role of companion planting. Some plants, like beans, peas, and clover, fix nitrogen in the soil and improve calcium availability for tomatoes. Others, like corn or potatoes, compete for calcium and can worsen deficiencies.
If you’re dealing with repeated blossom end rot, try interplanting tomatoes with calcium-rich companions like Swiss chard or kale. These plants not only improve soil health but also act as natural indicators of calcium levels—if they look healthy, your tomatoes are more likely to thrive.
Understanding why calcium deficiency leads to blossom end rot is the first step to preventing it. The key takeaway? It’s
Best organic calcium sources to fix and prevent blossom end rot
When your tomato plants show signs of blossom end rot, the issue often boils down to a calcium deficiency. While commercial supplements exist, the most effective and eco-friendly solutions are often right in your garden—or even your kitchen.
Organic calcium sources not only restore plant health but also improve soil structure over time. The key is choosing the right method based on your garden’s needs, budget, and timeline for results.
Not all calcium sources work the same way. Some provide immediate relief, while others offer long-term soil enrichment. For example, crushed eggshells take time to break down but are free and sustainable, whereas gypsum delivers fast results but isn’t organic.
Understanding these differences helps you tailor your approach to your tomato plants’ specific stage of growth—whether they’re flowering, fruiting, or recovering from stress.
🌱 Organic Calcium Sources Comparison
Crushed Eggshells (DIY)
- ✅ Zero cost (household waste)
- ✅ Slow-release calcium
- ✅ Improves soil structure
- ❌ Time-consuming to prepare
- ❌ Limited immediate impact
- ❌ May attract pests if not baked first
Gypsum (Calcium Sulfate)
- ✅ Fast-acting results
- ✅ Improves soil drainage
- ✅ Safe for all plants
- ❌ Requires reapplication
- ❌ Not organic (mineral-based)
- ❌ Less effective in alkaline soils
Oyster Shell Flour
- ✅ Rich in calcium + trace minerals
- ✅ Long-lasting effects
- ✅ Improves soil pH
- ❌ Expensive option
- ❌ Slow to break down
- ❌ Hard to find locally
For immediate results, I recommend mixing 1 cup of gypsum into the soil around your tomato plants. This mineral dissolves quickly, delivering calcium directly to the roots where it’s needed most. However, if you’re committed to 100% organic gardening, crushed eggshells are an excellent alternative.
Simply bake them at 200°F for 10 minutes to kill pests, then grind into a fine powder and sprinkle around the base of your plants.
Another underrated option is oyster shell flour, which not only provides calcium but also adds beneficial trace minerals like magnesium and phosphorus. While pricier, it’s a one-time investment that can improve your soil’s fertility for years.
To use it, work 1/2 cup per plant into the top 6 inches of soil during planting or early growth stages. Pair this with compost tea to enhance microbial activity, which helps roots absorb calcium more efficiently.
Integrating these calcium sources into your routine is easier than you think. For example, save eggshells from your kitchen and bake them monthly to keep a steady supply.
During the growing season, alternate between soil amendments and foliar sprays—like a calcium nitrate solution (1 tbsp per gallon of water)—to ensure your plants get calcium through both roots and leaves. This dual approach mimics how calcium naturally moves in the plant, reducing the risk of future rot.
Remember, the goal isn’t just to fix existing rot but to create a preventative environment for your tomatoes. Combine calcium-rich amendments with consistent watering and mulching to maintain steady moisture levels. Avoid over-fertilizing with nitrogen, as it can compete with calcium uptake.
With these organic solutions, you’ll not only rescue your current crop but also set your garden up for healthier, more productive tomato plants next season.