
Picking
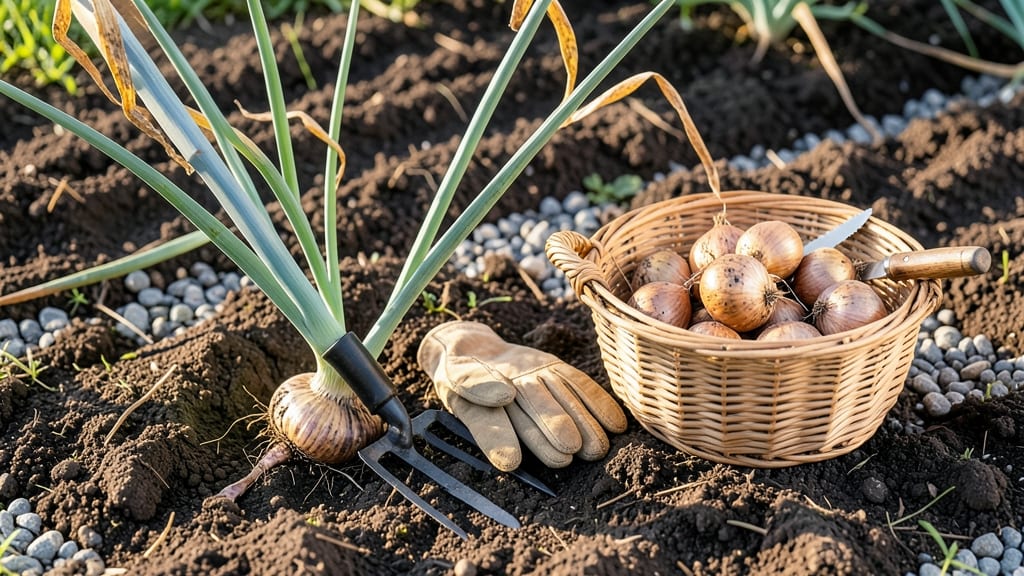
Harvesting shallots from your garden at the right time turns mediocre bulbs into flavorful, long-storing treasures 🧅 — and missing that window means bitter, shriveled disappointment.
Shallots are one of the most rewarding crops to grow, but knowing exactly when to harvest them can mean the difference between a bountiful harvest and wasted effort. Miss the window, and your hard work could go to waste—here’s how to spot the perfect moment and harvest like a pro.
Look for yellowed foliage that collapses naturally, firm bulbs when squeezed, and dry, papery skins. These are your cues that the bulbs are fully mature and ready for digging—typically between late summer and early fall, about 90-120 days after planting.
In this guide, I’ll walk you through the best tools and techniques for digging, how to cure and store your harvest for months, and the common mistakes that turn great shallots into lost investments. Let’s make sure your garden pays off!


How to tell when shallots are ready for harvesting (key visual & tactile signs)
Harvesting shallots at the right moment transforms your garden into a treasure trove of flavorful bulbs. Unlike onions, shallots mature unevenly, so timing is everything. I’ve learned that waiting until the foliage shows specific signs ensures bulbs store well and pack maximum flavor.
The key is watching for 5+ foolproof indicators—both visual and tactile—that tell you it’s time to dig.
First, mark your calendar for late summer to early fall, typically 90-120 days after planting. This window aligns with when most shallot varieties reach peak maturity. But don’t rely solely on days—your plants will give you clear signals.
The most reliable clues come from the foliage, bulb firmness, and skin texture. Ignoring these can lead to harvesting too early (small, pungent bulbs) or too late (soft, sprouting shallots).
🌱
| Sign | Description | Action |
|---|---|---|
| Foliage Color | Yellowing tops (50-70% brown) | Check bulb firmness |
| Bulb Firmness | Solid, not soft or spongy | Gently squeeze to test |
| Skin Texture | Dry, papery outer layers | Peel back top layer |
| Top Resistance | Pulls out easily with minimal force | Grasp and tug gently |
| Bulb Size | 1-2 inches in diameter (varies by variety) | Compare to store-bought |
| Soil Condition | Dry surface (1-2 inches down) | Dig when soil is slightly dry |
The first sign I watch for is foliage turning yellow. Unlike onions, shallots don’t fully brown—they develop 50-70% yellowing with some green still remaining. If your tops are completely brown and collapsing, you’ve waited too long.
The yellowing indicates the plant is redirecting energy to the bulb, which is your cue to start checking other signs. I’ve found that morning harvests after dew has dried work best for assessing these visual cues accurately.
Next, test the bulb firmness by gently squeezing it through the soil. Mature shallots feel solid and dense, almost like a small rock. If it feels soft or spongy, it’s not ready—this usually means it needs 1-2 more weeks to mature.
I’ve made the mistake of harvesting soft bulbs, only to find they spoiled within days. Always dig a test bulb first to confirm readiness across your patch, as shallots mature unevenly.
Don’t overlook the skin texture. Ready-to-harvest shallots develop dry, papery outer layers. Run your thumb over the bulb—if it feels rough and crispy, it’s time. Wet or sticky skins mean more time in the ground.
This tactile check is my favorite because it’s instant feedback without digging. I’ve saved entire harvests by catching this detail early in the season.
Another pro tip: pull the tops gently. If they come out with minimal resistance, your shallot is ready. This works because the bulb has fully formed and the roots have detached naturally.
If the top resists, leave it be—this usually means the bulb isn’t mature yet. I test 2-3 plants this way before committing to a full harvest to avoid disappointment.
The bulb size gives you a final confirmation. Mature shallots typically reach 1-2 inches in diameter, though some heirloom varieties can grow larger. Compare them to store-bought shallots for a quick reference.
Undersized bulbs (smaller than a golf ball) will be pungent and lack sweetness. Oversized ones (bigger than a tennis ball) may have started sprouting, which affects storage life.
Finally, check the soil condition. The surface should be slightly dry 1-2 inches down—this prevents mud from clinging to your bulbs during harvest. If the soil is waterlogged, wait a few days.
Dry soil also helps the bulbs cure properly after digging. I’ve learned that harvesting in dry weather reduces the risk of rot during storage, so I
Best tools and techniques for digging up shallots without damaging the bulbs
Once your shallots show yellowed, collapsing foliage and firm bulbs, it’s time to harvest—but the method matters. Using the wrong technique can bruise bulbs or leave them in the soil to rot.
I’ve learned that gentle digging with the right tools preserves quality and maximizes storage life. The goal? Minimize stress on those delicate bulbs while keeping them intact.
Your choice of digging tool depends on soil type and bulb size. Heavy clay soil calls for a garden fork, while loose soil works well with a hand trowel.
For small patches, even your bare hands can work—just be extra careful. The key is to avoid piercing the bulbs, as even tiny holes invite rot during storage.
Tools for Harvesting Shallots
Garden Fork
- ✔️ Heavy-duty digging in compacted soil
- ✔️ Minimizes bulb damage when used carefully
- ✔️ Works for large patches quickly
- ✖️ Can pierce bulbs if forced
- ✖️ Not ideal for small, delicate bulbs
Hand Trowel
- ✔️ Precision digging in loose soil
- ✔️ Gentler on small bulbs
- ✔️ Portable for small gardens
- ✖️ Slow for large harvests
- ✖️ Not effective in hardpan soil
Bare Hands
- ✔️ Zero tool marks on bulbs
- ✔️ Ideal for small batches
- ✔️ Gentlest method for delicate bulbs
- ✖️ Time-consuming for large harvests
- ✖️ Risk of bruising if soil is hard
Start by gently loosening the soil around the base of the shallot plants with your chosen tool. Work in a circular motion about 6 inches from the stems to avoid direct contact with the bulbs.
For a garden fork, insert the tines at a 45-degree angle and wiggle them side-to-side to break up the soil without stabbing downward. If using a trowel, slide it just beneath the bulb and lift—never force it.
Once the soil is loose, grip the foliage near the base and lift the entire plant out of the ground. Shallots are shallow-rooted, so they should come out easily if the soil is dry. If resistance meets you, stop and loosen more soil—never pull hard