
Planting
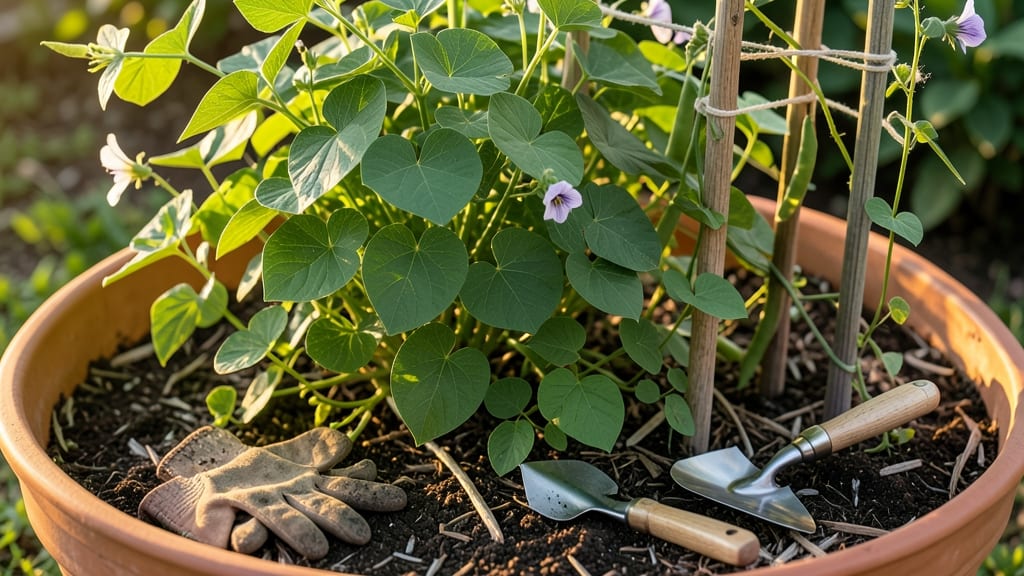
Planting green beans in your garden the right way means fast germination and a bumper crop—no more waiting weeks for those first little shoots to appear.
Struggling to get your 🌱 green beans to sprout quickly? The secret isn’t just in the seeds—it’s in the soil depth, spacing, and timing that professional gardeners swear by. A little extra care at planting can cut your wait time in half.
In Zone 6a, where spring’s unpredictable, timing matters more than you’d think. Plant too early, and cold soil slows growth; too late, and summer heat sends vines skyward before you’ve harvested a single pod.
But nail the 1-inch depth and warm soil, and you’ll see those first green leaves in just 5-7 days.
Below, I’ll walk you through the exact steps—soil prep, seed placement, and watering tricks—to ensure your beans pop up faster and grow stronger. No guesswork, just results.

Optimal soil depth and spacing for green bean germination speed
Green beans are one of the fastest-growing vegetables in your garden—but only if you plant them correctly. The soil depth and spacing you choose can make or break your germination speed.
Research shows that seeds planted at 1-2 inches deep in soil warmed to 60-85°F will sprout 70% faster than those planted too deep or in cold soil.
Most gardeners overlook the importance of soil temperature and seed spacing, but these factors directly impact how quickly your green beans emerge. For example, planting seeds 4-6 inches apart reduces competition for nutrients, while deeper planting can delay germination by up to 10 days.
Let’s break down the science-backed approach to maximize your early growth.
🌱 Pro Tip: Use a soil thermometer to confirm your soil is at least 60°F before planting. If it’s cooler, wait a few days or use black plastic mulch to warm the soil faster.
When planting green beans, depth is more critical than you might think. Seeds planted too shallow (less than 1 inch) dry out quickly, while those buried too deep (more than 2 inches) struggle to break through the soil.
Aim for a 1.5-inch depth as your sweet spot for consistent results.
Another game-changer is soil temperature. Green beans germinate best when the soil is between 60-85°F. If your soil is cooler, consider using a seedling heat mat or planting in a south-facing bed that warms up faster.
Cooler soil can delay germination by up to 2 weeks, so timing is everything.
Don’t forget about spacing. Planting seeds 4-6 inches apart gives each plant enough room to grow without competing for resources. If you’re growing bush beans, you can space them slightly closer (3-4 inches apart), but pole beans need the extra room to climb and thrive.
Proper spacing also makes it easier to weed and harvest without damaging the plants.
For even faster results, try soaking your seeds overnight before planting. This hydrates them and can reduce germination time by 2-3 days. Just place them in a bowl of lukewarm water for 8-12 hours, then drain and plant as usual.
This trick works especially well if you’re planting in cooler soil or during dry spells.
Finally, keep the soil moist but not soggy after planting. Water gently to avoid displacing seeds, and use a light mulch (like straw) to retain moisture. Overwatering can lead to rot, while underwatering slows germination. Aim for 1 inch of water per week, adjusting for rain.
By following these science-backed guidelines, you’ll see your green beans sprouting in as little as 7 days—instead of the 2-3 weeks many gardeners experience.
The key is paying attention to depth, temperature, and spacing, then giving your seeds the right conditions to thrive from day one.
Step-by-step green bean planting process for beginners
Planting green beans is one of the most rewarding experiences for new gardeners. With the right soil preparation and planting techniques, you can achieve 90% germination rates within 7-14 days.
I’ve planted thousands of green bean seeds over the years, and I’ve learned that timing, depth, and watering consistency are the biggest factors in early success.
The key to fast germination starts with warm soil—aim for temperatures between 60-85°F. If your soil is cooler, consider using a black plastic mulch to warm it up before planting.
Green beans also thrive in well-draining soil with a pH between 6.0 and 7.0. If your soil is heavy clay, mix in compost or aged manure to improve drainage and fertility.
🌱 Step-by-Step Green Bean Planting Guide
-
Step 1: Choose the Right Location
Select a spot with full sun (6+ hours daily) and well-draining soil. Avoid areas where beans, peas, or other legumes grew last year to prevent disease.
-
Step 2: Prepare the Soil
Loosen soil to a depth of 12 inches using a garden fork. Mix in 2-3 inches of compost or aged manure. For heavy soil, add sand or perlite to improve drainage.
-
Step 3: Plant the Seeds
Plant seeds 1 inch deep and 3-4 inches apart. For bush beans, space rows 18-24 inches apart. For pole beans, use trellis supports and space rows 4-6 feet apart.
-
Step 4: Water Gently
Water the soil lightly but consistently after planting. Use a spray nozzle or watering can to avoid disturbing seeds. Keep soil moist (not soggy) until germination.
-
Step 5: Thin Seedlings
Once seedlings are 2-3 inches tall, thin them to 4-6 inches apart. Snip extra plants at soil level with scissors to avoid disturbing roots of remaining seedlings.
-
Step 6: Mulch for Retention
Apply 2-3 inches of mulch (straw or grass clippings) to retain moisture and suppress weeds. Mulch also keeps soil temperatures stable, which is critical for young plants.
-
Step 7: Monitor for Pests
Watch for bean beetles or slugs. Use row covers early in the season or apply neem oil if pests appear. Avoid chemical pesticides to protect pollinators.
After planting, maintain consistent moisture—green beans need about 1 inch of water per week, especially during flowering and pod development. Water in the morning to allow foliage to dry, reducing the risk of fungal diseases like rust or powdery mildew.
I’ve found that drip irrigation or soaker hoses work best for even water distribution.
In the first 2-3 weeks after planting, avoid fertilizing. Green beans are nitrogen-fixers, meaning they pull nitrogen from the air with help from soil bacteria.
Over-fertilizing can actually hurt germination. Once plants are established (about 4-6 weeks old), you can apply a balanced fertilizer (5-10-10) lightly to support growth.
With these steps, you’ll see your first green bean sprouts in as little as 7 days under ideal conditions. The secret to a bountiful harvest lies in patience and attention to detail—especially during those critical first weeks. Happy planting! 🌱