
Watering
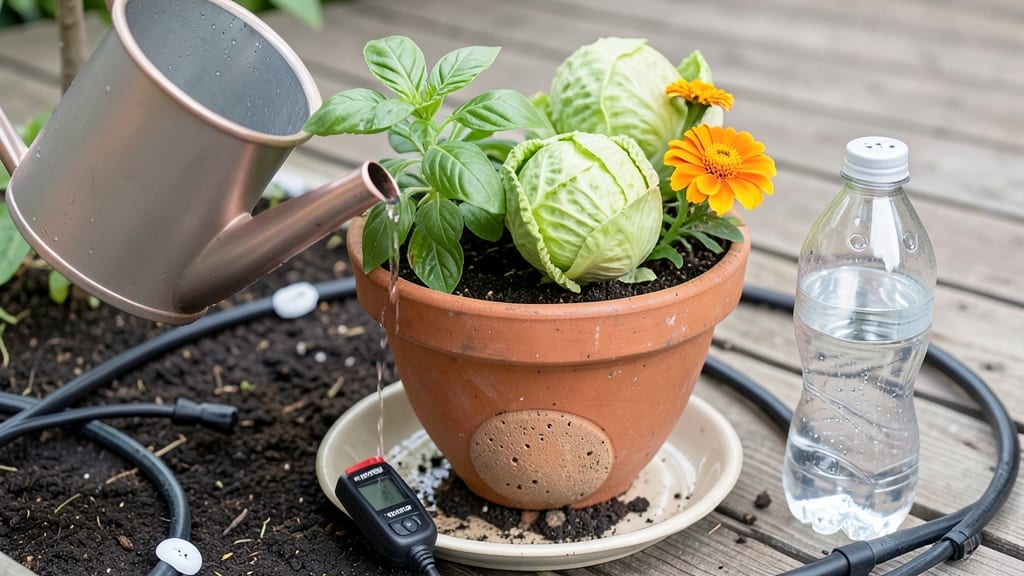
To water your garden when away, you don’t need to rely on luck—smart systems and simple tricks can keep your plants thriving while you’re gone.
Picture this: you return from a week-long trip to find your 🌱 General Garden wilted or worse, because a sudden heatwave drained the soil. The good news? With the right setup, you can avoid this stress entirely.
Whether you’re off for a weekend or a month, automated solutions and low-tech hacks ensure your garden stays hydrated without constant monitoring.
From affordable DIY methods like buried clay pots to high-tech drip irrigation, there’s an option for every budget and garden size. You’ll discover how to balance moisture needs by plant type, adjust for weather changes, and even set up remote monitoring to catch issues before they start.
No more guessing—just consistent, reliable hydration that keeps your garden looking its best.
Below, I’ll walk you through the easiest and most effective ways to water your garden while you’re away, including cost-saving tips, maintenance advice, and safety checks to protect your plants (and your wallet). Let’s make sure your garden stays green, even when you’re not around.
Best automated watering systems for long-term garden care
When you're planning a weekend getaway or a month-long vacation, your garden shouldn’t suffer from neglect. Automated watering systems are the perfect solution to maintain plant health without daily attention. These systems deliver precise watering schedules, reduce water waste, and keep your garden thriving while you're away.
Whether you have container plants, raised beds, or a full in-ground garden, there’s an automated option tailored to your needs.
Choosing the right system depends on your garden size, plant types, and budget. Some systems require electricity and Wi-Fi, while others are battery-powered or manual.
Below, we compare the top three types—drip irrigation kits, smart sprinklers, and self-watering containers—to help you decide which fits your garden best.
Let’s dive into each system to see which one aligns with your garden’s needs. Drip irrigation kits are ideal for raised beds or in-ground gardens because they deliver water directly to the roots, reducing evaporation and runoff.
These kits typically include a timer controller, tubing, and emitters, making them a cost-effective and efficient choice for larger gardens.
For those with Wi-Fi connectivity, smart sprinklers offer unmatched convenience. These systems can be controlled via mobile apps, allowing you to adjust watering schedules based on weather forecasts or your return date.
While they’re pricier upfront, their automated adjustments and weather-based scheduling make them a smart investment for large lawns or expansive gardens.
Self-watering containers are perfect for container gardens, herbs, or small plants like succulents and peppers. These pots use a wicking system or reservoir to slowly release water to the roots as needed. They’re low-maintenance and ideal for balconies or patios, but they won’t work for large in-ground gardens.
Installing a drip irrigation system starts with mapping your garden’s watering zones. Begin by laying out the mainline tubing along the edges of your garden beds. Use a stake and string to mark where emitters should go, ensuring each plant gets even coverage.
Connect the tubing to a water source and attach emitters at the base of each plant. Finally, set a timer to water for 15–30 minutes every 2–3 days, depending on your climate.
If you opt for a smart sprinkler system, installation is straightforward. Most kits include a controller hub that connects to your Wi-Fi network. Follow the manufacturer’s instructions to attach the hub to your existing sprinkler system or outdoor faucet.
Use the mobile app to customize watering schedules, set rain sensors, and monitor soil moisture levels remotely. For best results, place sprinkler heads to cover overlapping zones and avoid uneven watering.
For self-watering containers, the process is even simpler. Choose pots with a built-in reservoir or DIY a system using a terracotta pot buried upside-down in the soil. Fill the reservoir with water, and the pot will wick moisture to the plant’s roots as needed.
This method is perfect for herbs, vegetables, or small flowering plants that prefer consistent moisture without soggy soil.
When selecting an automated watering system, consider your garden’s size, plant
DIY solutions to water your garden without electricity
When planning a trip, don’t let your 🌱 General Garden become a high-maintenance worry. The right DIY watering systems can keep your plants hydrated for days without electricity. These low-cost, gravity-powered solutions are perfect for small gardens, containers, or raised beds.
The best part? They require zero upkeep once set up, making them ideal for short vacations or weekend getaways.
Whether you’re dealing with drought-sensitive herbs or thirsty tomato plants, these methods mimic natural watering patterns. No pumps, no batteries—just clever repurposing of everyday materials.
Below, I’ll break down three of my favorite no-electricity watering hacks, including what you’ll need, how to assemble them, and how to tweak them for different plant types.
-
💧 Buried Clay Pots (Olla System)
Unbreakable clay pots buried near plant roots slowly release moisture through tiny pores. Perfect for vegetables and flowers needing steady hydration.
-
🌱 Wicking Beds
Layer landscape fabric and a water reservoir beneath soil. Plants draw up moisture as needed—ideal for herbs and shallow-rooted greens.
-
🔄 Repurposed Bottle Drip System
Poke holes in plastic bottles, bury them near roots, and fill with water. Adjust hole size to control flow—great for container gardens and potted plants.
For the buried clay pot method, start by selecting unglazed clay pots (ollas) with a 3-5 gallon capacity. Bury them halfway in the soil, keeping the top 2-3 inches above ground.
Fill the pot with water—it’ll seep out gradually through the porous clay, mimicking a slow drip. This works best for deep-rooted plants like tomatoes or peppers, where moisture needs to reach lower soil layers.
If you’re working with container plants, the repurposed bottle system is my go-to. Use 2-liter plastic bottles with holes drilled near the base. Place them upside-down in the soil, ensuring the holes face downward.
Fill the bottle with water—it’ll drip out at a controlled rate, keeping roots moist for 3-5 days. For longer trips, add a second bottle to extend coverage.
Don’t overlook mulching as your secret weapon. Apply a 2-3 inch layer of straw or wood chips around plants to lock in moisture and reduce evaporation. This simple step can double the effectiveness of any DIY watering system.
Test your setup a week before your trip by monitoring soil moisture—adjust bottle hole sizes or olla placement if needed.
Remember, overwatering is just as harmful as underwatering. Always check soil moisture levels before leaving, and avoid these systems during heavy rain or humid conditions. With a little prep, your garden will stay vibrant until you return—no wilting in sight!