
Pruning
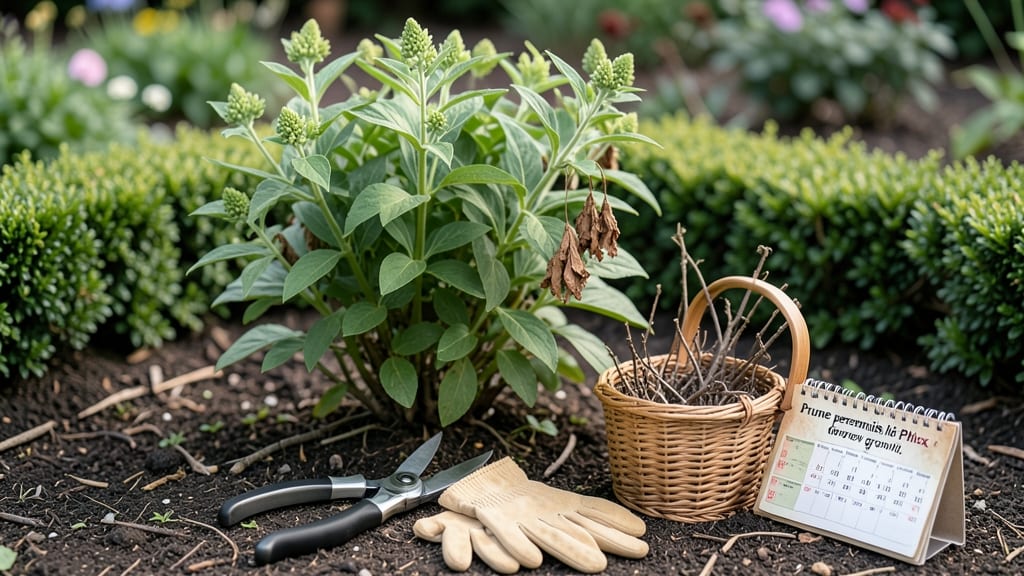
Cutting back garden phlox 🌸 at the right time in late fall determines whether your plants return next year with bold blooms or sparse stems.
If you’ve ever stared at a bed of leggy, spent phlox wondering why it never looks as lush as your neighbor’s, the answer is likely in your pruning timing. Too early, and you risk inviting disease; too late, and frost can damage the roots.
The secret lies in a narrow window—after the first frost but before hard freezes set in.
This guide breaks down the exact timing for your USDA zone, how to prune for maximum growth, and why leaving too much foliage (or cutting too aggressively) can backfire.
Whether you’re in a cold climate like zone 6a or a milder region, these steps will ensure your phlox comes back stronger than ever.
You’ll learn the three-step method for clean cuts, when to sanitize your tools, and how much to trim—plus common mistakes that even experienced gardeners make. Ready to transform next year’s garden?
The best late fall timing for cutting back garden phlox
Timing is everything when it comes to cutting back garden phlox in late fall. The key window is after the first frost but before hard freezes set in—typically between late November and early December in most USDA zones. This timing prevents disease while protecting the root system from winter damage.
Why does this window matter? Cutting too early leaves your phlox vulnerable to fungal infections and pests, while waiting too long risks frost damage to the stems. The goal is to remove the spent foliage while preserving the plant’s energy reserves for next spring.
Here’s the golden rule: Wait until the leaves have browned and died back naturally, but act before the ground freezes solid. In colder zones (3-5), this might mean pruning in November, while milder zones (6-9) can wait until December. Always check your local frost dates for precision.
Regional differences play a huge role. In USDA zone 3-5, where winters are harsh, prune by mid-November to avoid buried stems. Zones 6-9 can often wait until late November or early December, as milder winters allow for a longer window.
One common mistake is cutting back too aggressively. While it might look tidy, trimming down to the ground can shock the plant and leave it vulnerable to cold temperatures.
Instead, aim to cut stems back to 2-3 inches above the ground, leaving some foliage to protect the crown.
Another critical factor is tool sanitation. Always disinfect your pruners with rubbing alcohol or a bleach solution before and after use. This prevents spreading pathogens like powdery mildew, which thrives on phlox in damp conditions.
After pruning, add a 2-3 inch layer of mulch around the base of the plant. This insulates the roots, regulates soil temperature, and retains moisture—all essential for winter survival. Use organic mulch like shredded leaves or straw for best results.
Finally, avoid pruning if rain or frost is in the forecast. Wet conditions can spread disease, and frozen stems are harder to cut cleanly. Always prune on a dry, sunny day for the best outcome.
By following this timing and method, your garden phlox will return next spring with fuller stems and more abundant blooms—proving that patience and precision in late fall pay off handsomely. 🌸
Step-by-step guide to pruning phlox for next year’s growth
Now that you’ve nailed the timing, let’s focus on the how. Pruning garden phlox correctly ensures your plants return with stronger stems and healthier blooms. The key is precision—cutting too high or too low can weaken your plants or invite pests.
Here’s my foolproof method for a clean, effective prune that sets your phlox up for next year’s success.
First, gather your tools and supplies. You’ll need sharp pruning shears, a sanitizing solution (like rubbing alcohol or bleach), and organic mulch. Avoid dull tools—they crush stems instead of making clean cuts, which can damage the plant and invite disease.
If your shears are old or rusty, it’s time to invest in a new pair.
- 1 Sanitize your tools: Wipe pruners with rubbing alcohol or a 1:10 bleach-water mix to kill pathogens. Let air-dry completely before use.
- 2 Locate the crown: Identify the base of the plant where stems meet the soil. This is your cutting zone—never prune below it.
- 3 Trim at 2-3 inches: Cut each stem at a 45-degree angle, leaving 2-3 inches above the crown. This protects the growth buds hidden in the stem base.
- 4 Remove debris: Clear away all cut stems and fallen leaves from the garden bed to reduce disease risk.
- 5 Apply mulch: Spread a 2-3 inch layer of organic mulch around the base, keeping it 2 inches away from the crown to prevent rot.
If your phlox still has some green leaves after the first frost, resist the urge to prune early. Deadheading spent blooms during the growing season is different from late-fall pruning—focus on removing only fully browned stems in fall.
This distinction prevents shocking the plant and ensures it stores energy for spring.
Safety is just as important as technique. Always prune on a dry day to avoid slipping on wet soil, and wear gloves to protect your hands from thorns or sap.
If you’re working in a large garden, take breaks to avoid fatigue—pruning is easier when you’re focused and careful. A little patience now means healthier plants and fewer headaches later.
After pruning, step back and admire your work. Your garden phlox now has a clean slate for next year’s growth. With the right timing and technique, you’ll see fuller stems and more vibrant blooms by late spring—proving that a little effort in fall goes a long way. ✂️🌸