
Picking
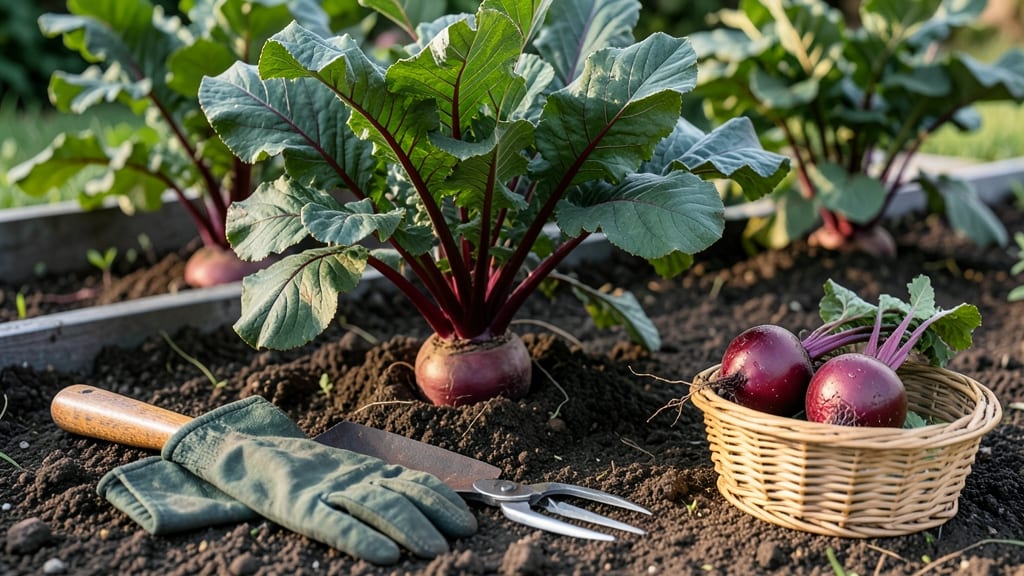
Harvesting beets from your garden at the right time means the difference between a tender, sweet root and a tough, woody mess—so timing is everything.
Picture this: you’ve nurtured your 🍠 beets all season, and now the moment of truth arrives. Pull them too early, and they’re bitter and underdeveloped; leave them too late, and they turn fibrous.
The key is knowing when the roots are just right—1 to 3 inches wide, with deep color and firm skin.
But how do you tell? It’s not just about size—soil temperature, leaf growth, and even the time of year play a role. In Zone 6a, spring-planted beets are ready by mid-summer, while fall crops should be harvested before the first frost creeping in.
Below, I’ll walk you through three simple tests to check for perfect sweetness, plus how to store your harvest so it stays fresh for weeks. No more guesswork—just delicious, homegrown beets every time.


3 Tactile tests to determine when beets are ready for harvest
Nothing beats the satisfaction of pulling a perfectly tender beet from your garden—but timing is everything. If you harvest too early, you’ll end up with baby beets that lack sweetness, while waiting too long turns them woody and tough.
The good news? You don’t need a ruler or calendar to judge readiness. Instead, rely on these three tactile tests that let you feel, see, and assess your beets with your hands and eyes.
Beets mature at different rates depending on variety and growing conditions, but these simple checks work for Detroit Dark Red, Chioggia, and even heirloom types.
The key is to test them a few days before you think they’re ready—this gives you a buffer for unpredictable weather or slower growth in cooler climates. Pro tip: Always harvest on a dry, sunny morning when soil is workable, not muddy or hard.
How to Test Your Beets for Harvest Readiness
-
Test 1: Root Size & Soil Resistance
Gently brush away 1-2 inches of soil around the beet stem. If the root is 1-3 inches wide and feels firm when pressed, it’s ready. Push your thumb into the soil—if resistance increases, the beet has reached ideal size.
-
Test 2: Leaf Color & Growth
Check the top leaves: They should be 4-6 inches tall, deep green, and slightly crinkled. If leaves are still small (2-3 inches) or pale, wait 3-5 more days. Yellowing or wilting leaves signal it’s past prime.
-
Test 3: Skin Texture & Color
Run your fingers over the exposed root skin. Ready beets have a smooth, taut surface with vibrant color (deep red, gold, or purple). If the skin feels wrinkled or loose, the beet has overmatured and may be tough.
One of the most common mistakes I see is over-relying on days to maturity listed on seed packets. While those are helpful guidelines, they don’t account for your local soil conditions or microclimate.
For example, beets in cool, wet springs may take longer to bulk up, while hot summers can speed up growth. That’s why tactile tests are your best friend—they give you real-time feedback.
Let’s talk about soil resistance, my favorite trick for gardeners who hate digging. When you press your thumb into the soil near the beet stem, you’re checking for root expansion. If the soil feels firm and resists slightly, the beet has pushed against it and reached maturity.
This is especially useful for loose, sandy soils where roots might look smaller than they are. Conversely, if the soil gives way easily, the beet is still growing.
The leaf color test is a visual cue that’s often overlooked. Healthy, mature beet leaves should be deep green and slightly wrinkled, not glossy or limp. If you notice yellowing between veins, it could signal nitrogen deficiency or overmaturity.
For striped varieties like Chioggia, the rings should be fully developed and vibrant. A quick way to test? Pinch a leaf—if it snaps cleanly, it’s ready; if it bends without breaking, wait a few more days.
Here’s where many gardeners go wrong: they assume bigger roots mean better beets. Not true! Overgrown beets (those larger than 3 inches) develop woody cores and lose their sweetness. The skin texture test helps avoid this pitfall.
Run your fingers over the exposed root—ready beets feel smooth and slightly springy, like a firm apple. If the skin feels rough or leathery, it’s past its prime.
For storage varieties, you can leave them slightly larger (up to 4 inches), but they’ll still be sweeter when harvested earlier.
For container-grown beets, these tests work too, but with a twist. Since roots have limited space, they often mature faster. Check for readiness when the container feels slightly heavier due to root expansion, and the leaves start crowding the pot edges.
If you’re growing multiple beets in one container, harvest the largest ones first to give others room to grow. Pro tip: Use a small hand trowel to gently loosen the soil before testing resistance—this prevents damaging nearby roots.
Finally, don’t forget to rotate your harvests if you’re growing beets in rows. Pull beets from the outer edges first, then work inward to avoid disturbing the soil around unripe roots. This method also helps prevent bolting (when beets flower prematurely due to stress).
After harvesting, store beets in a cool, dark place (like a root cellar or refrigerator) for up to 3 months to preserve their texture and flavor.
With these three tactile tests, you’ll never second-guess your beet harvest again. The next time you’re kneeling in the garden, take a moment to touch, feel, and observe—your taste buds will thank you for the perfectly tender, sweet rewards. Happy harvesting! 🍠
Best harvest times by variety: baby beets vs. storage beets
Not all beets are created equal—and their harvest windows differ dramatically. Baby beets (like Detroit Dark Red) mature in just 45-50 days, while storage varieties (such as Chioggia) need 60-70 days to reach peak sweetness.
Understanding these timelines ensures you enjoy beets at their tender best, whether you're steaming baby roots or curing large storage beets for winter.
Climate plays a surprising role too. In cool, short seasons, beets mature faster, while hot summers can slow growth. Well-drained, fertile soil with consistent moisture also speeds up maturity.
For example, my Detroit Dark Red beets in Zone 6a were ready by late June, but in Zone 9, they took until August due to heat stress.
🌱📋
For baby beets, aim to harvest when roots reach 1-2 inches in diameter—this is when their sweetness peaks and texture remains tender. Use a soil probe to check depth without disturbing the plant.
If you see deep red or gold hues breaking through the soil, it's time to dig. I often harvest mine in succession, picking a few every 2-3 days to extend my harvest window.
Storage varieties like Chioggia and Blood Turnip need more time to develop their complex flavors. Wait until roots reach 2-3 inches before harvesting, as smaller roots won’t store well.
After pulling, trim the foliage to 1 inch and cure them in a dry, dark place for 24 hours to toughen the skin—this prevents spoilage during storage.
Soil temperature matters too. Beets grow best in 55-75°F soil. If your garden hits 80°F+, growth slows, and roots may become woody. In such cases, provide afternoon shade and mulch heavily to keep roots cool.
I’ve found that spring-planted beets in Zone 5 often mature faster than those sown in late summer, thanks to cooler nighttime temps.
Pro tip: Thin seedlings early to give roots space. Crowded beets compete for nutrients, leading to smaller, less flavorful harvests. Aim for 3-4 inches between plants—this ensures even growth and makes it easier to spot when they’re ready to pull.
With the right timing, you’ll enjoy beets that are sweet, tender, and packed with earthy flavor all season long. 🌿