
Picking
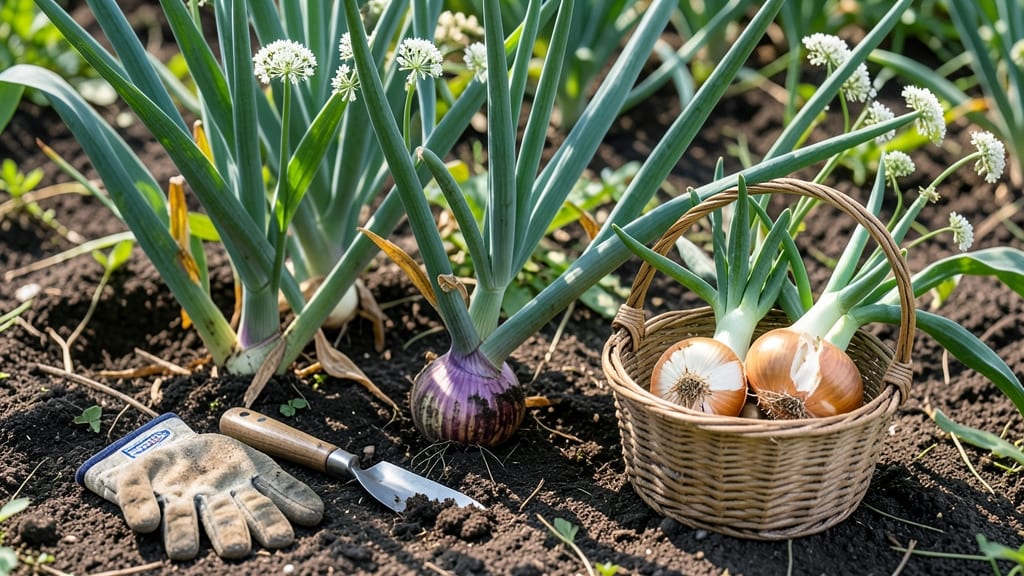
To pick onions from your garden at the perfect time means harvesting bulbs that are firm, flavorful, and ready for storage—when the tops yellow and flop over is your best cue.
I’ve pulled onions too early, only to watch them shrivel in storage, or left them too long, and they split open in the heat. The difference between a perfect harvest and a wasted crop often comes down to timing—and knowing what to look for.
Whether you’re growing storage onions for winter or fresh green onions for salads, the signs are subtle but unmistakable: a bulb that feels solid when squeezed, a neck that tightens, and leaves that turn papery.
Miss these clues, and you risk ending up with onions that are either too small or too soft.
Below, I’ll walk you through the exact visual and physical cues to watch for, how to handle different varieties, and the simple steps to prep your harvest for long-term storage—so you never waste another bulb again.


How to tell when onions are ready to harvest by bulb size and leaf color
Knowing the perfect moment to harvest onions can transform your garden from a bitter disappointment to a flavorful success. Unlike many vegetables, onions don't ripen after picking—so timing is everything. The key lies in watching for three critical signs: bulb size, leaf color changes, and neck tightness.
Each variety (yellow, red, or white) follows these cues, but the exact timing depends on whether you're growing them for fresh use or long-term storage.
For storage onions, aim to harvest when the tops yellow and flop over, usually 105-120 days after planting. This signals the bulb has fully matured and developed its protective papery skin.
Meanwhile, green onions or scallions can be harvested earlier when the leaves reach 6-8 inches tall—simply snip them at the base and let them regrow. But for bulbing onions, waiting too long risks soft, pithy bulbs that spoil quickly, while harvesting too early means small, weak flavors.
🌱
| Sign | Yellow Onions | Red Onions | White Onions |
|---|---|---|---|
| Bulb Diameter | 1.5–2.5 inches | 1–2 inches | 1–2 inches |
| Leaf Color | Yellow, brown, or flopped | Purple-red, wilted | Yellow-green, limp |
| Neck Tightness | Firm, papery skin | Tight, dry | Dry, shriveled |
| Best Time to Harvest | Late summer (Aug–Sept) | Mid-summer (July–Aug) | Early summer (June–July) |
| Storage Potential | Excellent (3–6 months) | Moderate (2–3 months) | Good (2–4 months) |
💡 Pro Tip: Gently squeeze the bulb—if it feels firm and solid, it's ready! If it’s soft, wait a few days.
The bulb diameter is your first clue: storage onions should reach 1.5–2.5 inches across, while fresh-market varieties can be slightly smaller (1–2 inches).
For example, Yellow Sweet Spanish onions often grow larger and are ideal for storage, whereas Red Creole onions stay smaller but pack a punch of flavor.
Always check the neck of the bulb—when it tightens and forms a papery barrier, the onion is protecting itself from moisture loss, a sure sign of readiness.
Leaf color changes are the most reliable visual cue. Start watching when the outer leaves begin turning yellow or brown, especially near the base.
For yellow onions, the entire top will eventually flop over like a bow. Red onions may darken to a deeper purple-red before wilting, while white onions turn yellow-green and droop.
If you see green shoots emerging from the center, you’ve waited too long—the bulb may have started bolting or sprouting, which ruins storage quality.
Don’t rely solely on days after planting—weather plays a huge role. Cool nights and warm days in late summer (July–August) are ideal for most varieties. If your area experiences hot, dry spells, onions may mature faster.
Conversely, cool, wet conditions can delay ripening. Pay attention to your local frost dates: storage onions should be harvested 4–6 weeks before the first expected frost to allow proper curing.
For short-day onions (common in Southern climates), harvest in June–July when bulbs reach 1–1.5 inches. These varieties are less likely to store long-term but excel in fresh eating. Meanwhile, long-day onions (Northern climates) take longer—aim for August–September harvests.
To test readiness, dig up one onion per variety and check the bulb. If it meets the size and neck criteria, it’s time to harvest the rest.
One common mistake is harvesting at night, which can lead to damp bulbs and rot. Always harvest in the morning after dew dries for the best results.
After pulling onions from the soil, trim the tops to 1 inch above the bulb and lay them in a dry, shaded area for 2–3 weeks to cure. This step is non-negotiable for storage onions—it hardens the skin and removes moisture, preventing spoilage.
If you’re unsure whether your onions are ready, err on the side of waiting. Overripe onions develop soft, hollow centers and may split open, while underripe ones lack flavor and storage potential.
The golden rule: harvest when 70% of the tops have yellowed or browned, and the bulbs feel heavy for their size. With these cues, you’ll go from guessing to mastering the perfect onion harvest every time.
🌿
Best practices for harvesting onions to maximize storage life
Once you've identified your onions are ready to harvest, the next critical step is handling them properly to extend their shelf life. Storage onions (like yellow or red varieties) need special care to prevent spoilage, while green onions or scallions can be harvested differently.
The key is timing—harvesting too early means small, pungent bulbs, while waiting too long leads to soft, moldy onions.
For long-day onions (common in northern climates), aim to harvest in late summer when tops yellow and flop. Short-day onions (grown in warmer regions) mature earlier, often by mid-summer. The exact timing depends on your climate and variety, but these general steps apply universally to maximize storage potential.
Step-by-Step Harvesting Guide
-
Step 1: Choose the Right Time
Harvest when 50-60% of tops yellow and flop over. For storage onions, wait until bulbs reach 2-3 inches in diameter. -
Step 2: Cut the Tops
Use clean shears to trim tops 1 inch above bulbs. Avoid damaging the bulb's neck, which can cause rot during storage. -
Step 3: Cure the Onions
Lay bulbs in a dry, shaded area (like a garage or porch) for 2-3 weeks. This hardens skins and prevents spoilage. -
Step 4: Store Properly
Store cured onions in a cool, dark place with good air circulation (e.g., mesh bags or cardboard boxes). Avoid plastic bags to prevent mold.
After harvesting, never wash onions before storing—moisture speeds up rot. Instead, brush off dirt gently. For long-term storage, keep them in a 50-60°F environment with 50-60% humidity. Check bulbs monthly for soft spots or mold, and remove any affected onions immediately to prevent spread.
If you're growing green onions, harvest by cutting 2-3 inches above soil when they reach 8-10 inches tall. They'll regrow for multiple cuts! For storage onions, proper curing is non-negotiable—skipping this step reduces shelf life from 6-8 months to just 2-3 months.
Pro tip: Label your onion varieties before storing. Some, like red onions, store better than others, and mixing types can lead to uneven ripening. With these steps, you'll enjoy homegrown onions well into winter!