
Picking
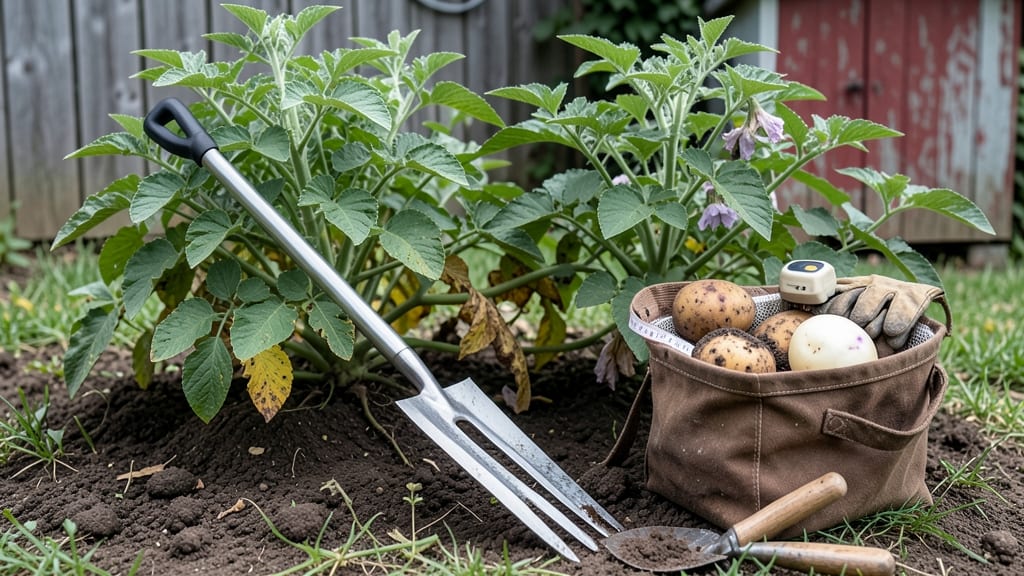
To pick potatoes from your garden at the perfect time means the difference between mealy, starchy tubers and crisp, flavorful spuds 🥔—and the key is knowing when to dig.
Picture this: you’ve waited all season, and now your potato plants are flowering, but how do you know if those tubers are ready? Digging too early means small, underdeveloped potatoes, while waiting too long risks shriveled or rotting harvests.
The answer lies in a simple, foolproof test that takes just seconds.
Most gardeners wait until the foliage yellows and dies back, but that’s not always the best time—especially for new potatoes or early varieties.
Instead, I’ll show you how to use the finger-press test to check tuber readiness, plus the best times of day and seasonal factors to ensure a harvest packed with flavor.
By the end, you’ll know exactly when to pull those spuds for the crispiest, most delicious potatoes straight from your garden—no guesswork involved.


How to use the finger-press test to determine potato harvest readiness
Timing your potato harvest is an art that separates crisp, flavorful tubers from mealy, waterlogged messes. The finger-press test is my go-to method for determining when potatoes are ready—no guesswork required.
This simple technique helps you avoid digging too early (tiny, underdeveloped spuds) or too late (shriveled, cracked potatoes). Let’s break down how to use it like a pro.
The finger-press test works by checking the skin toughness of your potatoes, which correlates directly with maturity. Start testing about 4-6 weeks after flowering, when tubers have had time to develop but aren’t yet fully mature.
This window ensures you catch potatoes at their peak flavor and texture, whether you’re harvesting new potatoes or storage varieties.
Before you begin, ensure your soil is dry enough to work—harvesting in wet soil can bruise tubers and spread disease. A light rain the day before is fine, but avoid testing after heavy downpours.
Also, choose a sunny, dry day to minimize stress on the plants and make the test easier to perform.
Now, let’s dive into the step-by-step process. Here’s exactly how I test my potatoes for harvest readiness:
- 1 Wait for flowering: Begin testing 4-6 weeks after your potato plants flower. This is when tubers start forming in earnest.
- 2 Choose a dry day: Test on a sunny, dry morning after dew has evaporated. Avoid testing after rain to prevent soil from being too soft.
- 3 Locate the stem: Gently dig down about 2-3 inches beside the plant’s stem to find a tuber. Avoid disturbing the roots if possible.
- 4 Press the skin: Use your thumbnail to press the tuber’s skin. If it resists pressure and doesn’t dent easily, it’s ready. If it gives way, wait another week.
- 5 Check size and color: Ready potatoes are 2-3 inches wide with brown, rugged skin. New potatoes may be smaller but still firm to the touch.
- 6 Harvest immediately: Once you confirm readiness, harvest within 24 hours to avoid skin toughening. Dig carefully to prevent bruising.
For new potatoes, you can harvest earlier when tubers are 1-2 inches wide and the skin is still thin. These are perfect for quick cooking but won’t store long-term.
Meanwhile, storage potatoes need that extra time to develop thicker skins and higher starch content, which is why the finger-press test is so valuable.
One common mistake is testing too early, which leads to small, underdeveloped tubers. If your potatoes feel too soft or are still green-skinned, they’re not ready.
Similarly, waiting too long can result in shriveled or cracked potatoes as they dry out in the soil. The finger-press test helps you strike that perfect balance.
Pay attention to the foliage as well. When the leaves start turning yellow and die back, it’s a sign that the plant is redirecting energy to the tubers. This is your second cue that harvest time is near. Combine this visual signal with the finger-press test for foolproof results.
If you’re growing multiple potato varieties, remember that some mature faster than others. Early varieties like ‘Yukon Gold’ might be ready in 70-90 days, while late varieties like ‘Russet’ take 100-120 days.
Always check the seed packet for specific guidelines, but use the finger-press test as your final judge.
Once you’ve mastered the finger-press test, you’ll never second-guess your harvest timing again. Your garden will thank you with perfectly sized, flavorful potatoes every season—no more guesswork, just great results! 🥔
Best time of day and seasonal factors for harvesting potatoes
Timing your potato harvest correctly depends on more than just watching the calendar—it’s about reading your plants and the weather. The best time of day to harvest is early morning after the dew has dried but before the sun gets too intense.
This ensures the soil is dry enough to avoid damaging tender tubers, yet the ground is still cool, reducing stress on your plants.
Seasonal factors play a huge role too. Early varieties like Red Pontiac or Yukon Gold mature faster (around 90 days), while late varieties such as Russet or Kennebec take 110-120 days to reach full maturity.
Your local climate also matters—cooler regions may need to harvest earlier to avoid frost damage.
🌱
| Potato Type | Harvest Window | Ideal Soil Temp | Best Time of Day |
|---|---|---|---|
| New Potatoes (e.g., Red Norland) | 4-6 weeks after flowering | 60-65°F | Early morning (dry soil) |
| Early Varieties (e.g., Yukon Gold) | 90-100 days after planting | 55-60°F | Late morning (avoid rain) |
| Late Varieties (e.g., Russet) | 110-120 days after planting | 50-55°F | Midday (dry, sunny) |
| Storage Potatoes (e.g., Kennebec) | 2-3 weeks before first frost | 45-50°F | Early afternoon (cool soil) |
Avoid harvesting after rainfall or when the soil is waterlogged, as this can bruise tubers and increase disease risk. If you must harvest after rain, wait 24-48 hours for the soil to dry out.
For new potatoes, you can gently dig around the plant base to check for small, tender tubers without waiting for full maturity.
In warmer climates, potatoes may mature faster, while cooler regions might need an extended growing season. Always monitor your plants for signs of foliage yellowing or flowering, which signals it’s time to start checking for harvest readiness.
For storage potatoes, aim to harvest 2-3 weeks before frost to ensure full maturity.
🌿
Pro tip: If you’re unsure, do a partial harvest by digging up a few tubers to test their size and skin thickness. This lets you adjust your timing without risking the entire crop.
Store any early harvests in a cool, dark place for a few days to cure the skins before eating for the best flavor.