
Tools
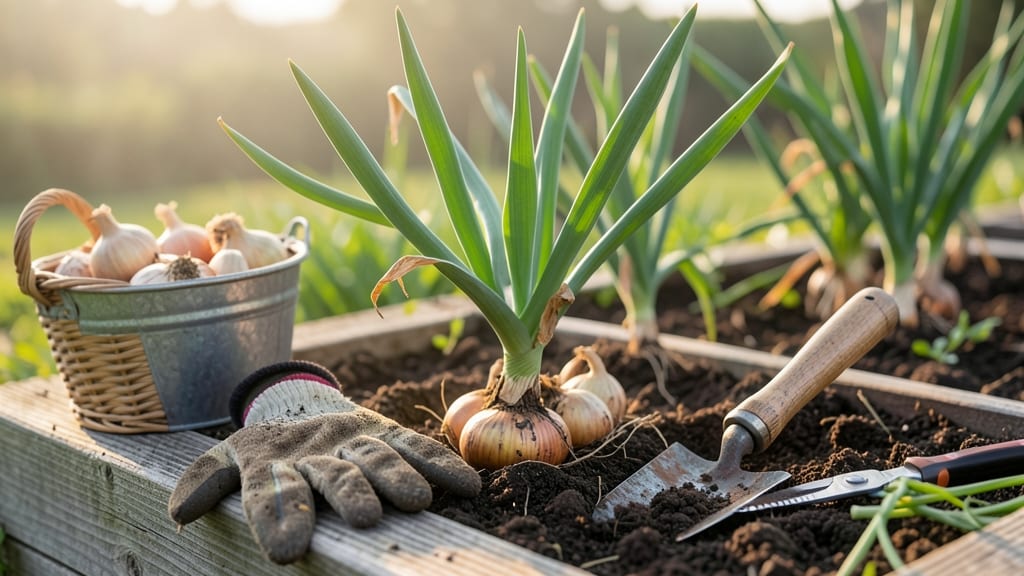
Pulling onions from your garden at the right time ensures sweet, flavorful bulbs instead of bitter, pungent ones — and it all comes down to knowing when the tops turn yellow 🧅.
Picture this: you’ve nurtured your onions all season, and now the question is when to pull them. Harvest too early, and you’ll end up with small, underdeveloped bulbs.
Wait too long, and they’ll split or turn tough. The key is catching them at peak readiness, and it’s easier than you think.
Most gardeners rely on visual cues like yellowing tops or flopping foliage, but there’s more to it. Soil tests, bulb firmness, and even neck thickness play a role in determining the perfect moment.
Below, I’ll walk you through the three simplest ways to test your onions for harvest readiness so you never miss the window.
By the end, you’ll know exactly when to pull your onions for storage or fresh eating — and how to avoid the most common mistakes that ruin a harvest. Let’s get started.
3 Reliable soil tests to determine onion harvest readiness
Harvesting onions at the perfect moment transforms your garden into a treasure trove of flavorful, storable bulbs. But how do you know when those onion tops turn yellow is just the beginning?
The secret lies in three soil and plant tests that reveal whether your onions are ready for harvest—or still need time to mature.
These simple methods help you avoid the two biggest mistakes: pulling too early (resulting in small, pungent bulbs) or waiting too long (leading to overmature, hollow onions).
First, let’s address the visual cues most gardeners rely on. While yellowing tops are a classic sign, they’re not enough alone. The real magic happens below ground, where bulb development and root conditions tell the full story.
By combining tactile tests with visual checks, you’ll gain confidence in your harvest timing. Start by examining the neck thickness, which shrinks as the bulb matures—a key indicator you’ll learn to spot in minutes.
| Test Type | What to Look For | Action to Take | Ready? |
|---|---|---|---|
| Bulb Size Test | Bulb diameter reaches 1-2 inches | Gently brush away soil to check | ✅ Yes (if neck is tight) |
| Neck Thickness Test | Neck shrinks to pencil thickness | Pinch between thumb and forefinger | ✅ Yes (if dry and firm) |
| Root Development Test | Roots pull away cleanly from soil | Gently tug on plant | ✅ Yes (if no resistance) |
| Skin Dryness Test | Papery, dry skin (no moisture) | Rub fingers over bulb surface | ✅ Yes (if rough texture) |
| Top Color Test | Yellow/brown tops (not green) | Observe foliage daily | ✅ Yes (if flopping over) |
The first test focuses on bulb size, which is surprisingly simple. Aim for bulbs that measure 1-2 inches in diameter—this is the sweet spot for most onion varieties. To check, gently brush away a little soil around the base of the plant.
If the bulb is smaller than a golf ball, it needs more time. For storage onions, slightly larger bulbs (up to 3 inches) are ideal, as they store better. Remember, green onions (scallions) are harvested differently—they’re ready when the stems reach pencil thickness, regardless of bulb size.
Next, perform the neck thickness test, a foolproof way to gauge maturity. The neck is the narrow section connecting the bulb to the tops. When it shrinks to about the thickness of a pencil, your onions are nearly ready.
Pinch it between your thumb and forefinger—if it feels firm and dry, harvest soon. If it’s still thick or spongy, wait another week. This test is especially critical for long-day onion varieties, which mature more slowly and require precise timing to avoid bitterness.
Don’t overlook the root development test, which reveals whether the bulb has fully detached from the soil. Gently grasp the onion tops and give a slight tug. If the roots pull away cleanly without resistance, the bulb is ready.
If you feel resistance or the roots break, the onion isn’t mature enough. This test is particularly useful for loose, sandy soils, where bulbs might not show other signs of readiness.
Pro tip: Perform this test on a cloudy day when the soil is moist but not soggy for the most accurate results.
The fourth test checks for skin dryness, a subtle but crucial indicator. Run your fingers over the bulb’s surface—ready-to-harvest onions have papery, dry skin that feels rough to the touch. If the skin still feels tight or slightly moist, the bulb needs more time.
This test is especially important for short-day onions, which can mature unevenly if conditions aren’t ideal. For red onions, the skin may also develop a deeper color as it dries, signaling harvest time.
Finally, combine all these tests with the top color test, the most visible cue. When the green tops turn yellow or brown and begin to flop over, it’s a clear sign the bulb is maturing.
However, don’t rely solely on this—some varieties, like shallots, may not show dramatic top color changes. Instead, use the top color as confirmation alongside the other tests. If the tops are still green and upright, your onions need more time, even if the bulb looks large.
Timing your harvest correctly ensures sweet, flavorful onions that store well. For short-term storage (1-2 weeks), harvest when the tops are yellow but still slightly green. For long-term storage (months), wait
Onion harvest timing by variety: green vs. storage onions
Not all onions are created equal when it comes to harvest timing. Green onions (scallions) and storage onions like yellow or red varieties require completely different approaches.
I’ve learned the hard way that pulling a storage onion too early results in small, pungent bulbs, while waiting too long means splitting or tough textures. Let’s break down the key differences so you can harvest each type at its peak.
For green onions (scallions), the timing is simple: they’re ready to harvest when the green shoots reach 6-8 inches tall. Unlike their bulb-forming cousins, scallions don’t develop thick necks or storage bulbs.
Instead, you can snip the green tops and let them regrow multiple times throughout the season. This makes them one of the most forgiving onions to harvest.
Storage onions, including yellow, red, and white varieties, demand more precision. The ideal time to pull them is when the tops turn yellow and flop over, but before they completely brown and dry. At this stage, the bulbs should feel firm when gently squeezed, with a diameter of 1-2 inches for most varieties. Waiting too long risks splitting or tough, woody bulbs.
Here’s a quick comparison table to help you visualize the differences:
One of the most critical indicators for storage onions is the neck shrinkage. When the stem above the bulb starts to tighten and dry out, that’s your cue to harvest. This shrinkage signals that the onion has stopped growing and is ready for storage.
For example, yellow onions often develop a papery skin and a neck that feels dry to the touch—this is the perfect moment to pull them.
Don’t overlook the soil test either. Gently dig around the base of the onion to check for well-developed roots. If the roots are thick and white, the bulb is ready.
If they’re sparse or still growing, wait a few more days. This simple check helps avoid the frustration of pulling onions that aren’t fully matured yet.
For red onions, timing is especially important because they’re often harvested earlier than yellow or white varieties. Aim to pull them when the tops are mostly yellow but haven’t fully browned.
Red onions tend to be more perishable and less ideal for long-term storage, so don’t wait until the tops are completely dry. Harvest them when the bulbs are firm and the skins are dry but still vibrant.
Pro tip: If you’re unsure whether your onions are ready, do a small test harvest. Pull one onion and check the bulb size and neck condition. If it meets the criteria, the rest of your crop is likely ready too.
This method saves you from the disappointment of waiting too long or harvesting too early—both of which can ruin your entire onion harvest.