
Tools
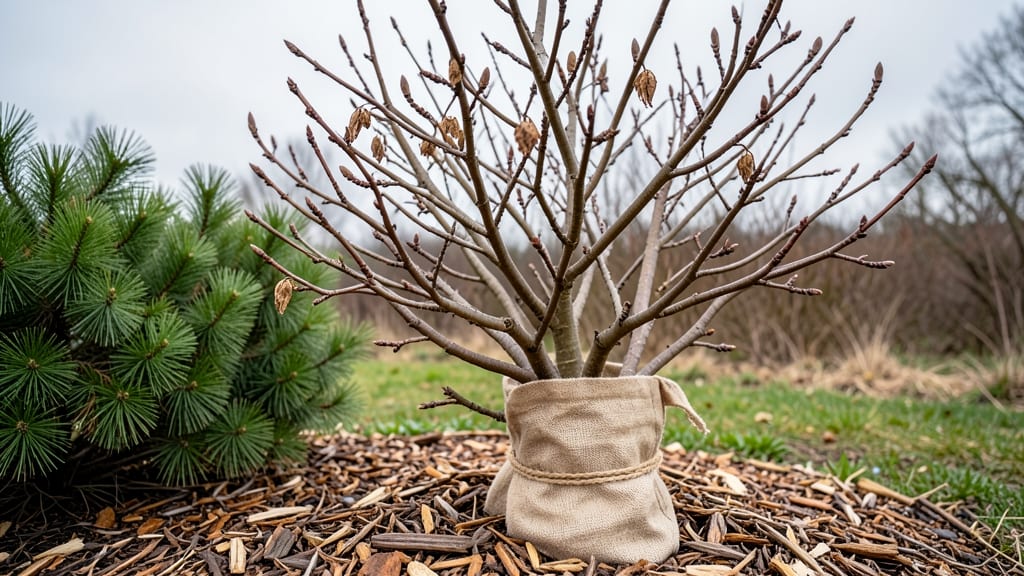
Winter protection for your garden isn’t just about survival—it’s about setting up next year’s harvest right now.
Frigid winter winds and subzero temperatures can turn your thriving garden into a frozen wasteland—but with the right winter protection strategies, you can shield your plants from damage and ensure a stronger spring comeback.
Whether you’re shielding perennials, wrapping tender shrubs, or insulating a greenhouse, the key lies in layered barriers that trap heat while allowing airflow. Think mulch, row covers, and even DIY windbreaks—each playing a role in keeping roots safe.
Below, I’ll walk you through the most effective methods, from passive insulation to active heat sources, so you can extend your growing season and preserve your garden’s health through the coldest months.
Layered winter protection methods for different plant types
Winter protection isn’t a one-size-fits-all solution—your perennials, shrubs, and tender plants each need tailored strategies to survive freezing temperatures. The key lies in layered protection, combining passive barriers like mulch with active measures such as windbreaks or heat sources.
This approach mimics nature’s insulation while giving your garden a fighting chance against subzero winds and frost heave.
Think of it like dressing for winter: a base layer (mulch) traps soil warmth, a mid-layer (row covers) blocks wind, and an outer layer (burlap or frost blankets) shields against extreme cold.
But timing matters—apply mulch before the first frost, add covers when nighttime temps drop below 25°F, and remove them on sunny days to prevent overheating. Let’s break down the best methods for each plant type.
Comparison Table: Winter Protection Layers by Plant Type
| Plant Type | Layer 1 (Base) | Layer 2 (Mid) | Layer 3 (Outer) | When to Apply |
|---|---|---|---|---|
| Perennials (Hardy) | 4-6" straw mulch | None (or light row cover) | Burlap wrap for young stems | Before first frost |
| Shrubs (Semi-Hardy) | 3" wood chips + compost | Frost cloth (30°F protection) | Pine boughs for windbreaks | After first frost, before 20°F |
| Tender Plants (Annuals) | 2" straw + cardboard | Row cover (25°F protection) | Plastic dome or cloche | 4-6 weeks before last frost |
| Potted Plants | Insulating foam around pot | Bubble wrap on pot sides | Move to garage/shed or insulated box | Before 25°F temps |
For perennials, focus on soil insulation—a thick layer of straw or leaves prevents frost heave and preserves root integrity. Hardy plants like coneflowers or black-eyed Susans can handle 20°F with just mulch, but add burlap around young stems to protect against desiccating winds.
The goal is to keep roots 5°F warmer than the air above.
Shrubs like hydrangeas or boxwoods need a two-layer approach: start with wood chips to regulate soil moisture, then wrap the crown with frost cloth when temps dip below 25°F. Add pine boughs around the base to block cold air drainage—a common issue in low-lying garden beds.
For extra protection, tie shrubs loosely with twine to prevent stem breakage from heavy snow.
Tender plants—think geraniums, coleus, or tomatoes—demand active protection. Start with cardboard under pots to block conductive freezing, then layer row covers or plastic domes. Remove covers during the day to prevent condensation buildup, which can rot stems.
If you’re in Zone 5 or colder, consider digging up tender perennials and overwintering them in a cool, dark basement.
Windbreaks are often overlooked but critical—even a 6-foot-tall fence or evergreen hedge can reduce wind chill by 10-15°F. Place them on the northwest side of your garden, where cold winds dominate.
For potted plants, group them together and surround the cluster with burlap or cardboard to create a microclimate. Add a heat source, like a low-wattage bulb (40W max) inside a plastic bottle, for extreme cold snaps.
Timing is everything: apply mulch in late fall (after soil temps drop below 50°F), add covers when nighttime temps hit 25°F, and remove them on sunny winter days to prevent overheating. Monitor
DIY winter protection solutions using household materials
When winter's chill threatens your garden, you don't need expensive supplies to shield your plants. Household materials like cardboard, plastic bottles, and burlap can create effective, budget-friendly insulation. These solutions trap heat, block wind, and maintain stable soil temperatures—critical for tender plants and young seedlings.
The best part? Most items are reusable year after year, making them a sustainable choice.
Start with the most vulnerable plants—those in USDA Zones 5-7 or below. Focus on perennials, herbs, and tender annuals like basil or tomatoes that won't survive prolonged freezing. Even evergreens benefit from protection against harsh winds and drying winter air.
With a few simple steps, you can extend the growing season and give your garden a head start in spring.
- 📦 Cardboard Cold Frame: Place thick cardboard (like appliance boxes) around low-growing plants. Secure with bricks or rocks to prevent wind damage. Add a clear plastic lid (from a storage bin) to trap sunlight and heat.
- 🥫 Plastic Bottle Insulators: Cut 2-liter bottles in half and slide them over small stems (like herbs or seedlings). Fill the bottom half with water to act as a heat sink, releasing warmth slowly.
- 🧣 Burlap Windbreaks: Hang burlap sacks on fences or trellises to block cold winds. For extra insulation, layer with straw or leaves inside the burlap. Ideal for protecting shrubs and roses.
- 🧴 Mulch Blankets: Spread straw, leaves, or pine needles (3-4 inches deep) around the base of plants. Top with cardboard or a tarp (secured with rocks) to keep moisture in and pests out.
- 🛡️ DIY Row Covers: Use old bedsheets or frost cloth (stretched over hoops or stakes) to cover vegetable beds. Weigh down edges with garden stones to prevent wind from lifting the fabric.
Assemble your protection system before the first frost, ideally in late fall.
For plastic bottle insulators, place them around plants when nighttime temperatures drop below 32°F. Cardboard cold frames work best for short-term protection (like a sudden cold snap), while burlap windbreaks are ideal for long-term use. Always leave small gaps for airflow to prevent rot or mold buildup.
Monitor your protected plants weekly. Remove any accumulated snow from covers to avoid weight damage or waterlogging. If using plastic lids, prop them open slightly during sunny days to prevent overheating.
For potted plants, wrap containers in bubble wrap or thick towels and bury them partially in straw or mulch for added insulation.
These DIY solutions are cost-effective and eco-friendly, but they also teach you how layered protection works. Once you see how well they shield your garden, you might invest in more permanent structures like hoop houses or greenhouse kits.
Start small, experiment with what works best in your microclimate, and watch your plants thrive come spring!
With a little creativity, your household clutter can become your garden's best winter ally. 🌱