
Tools
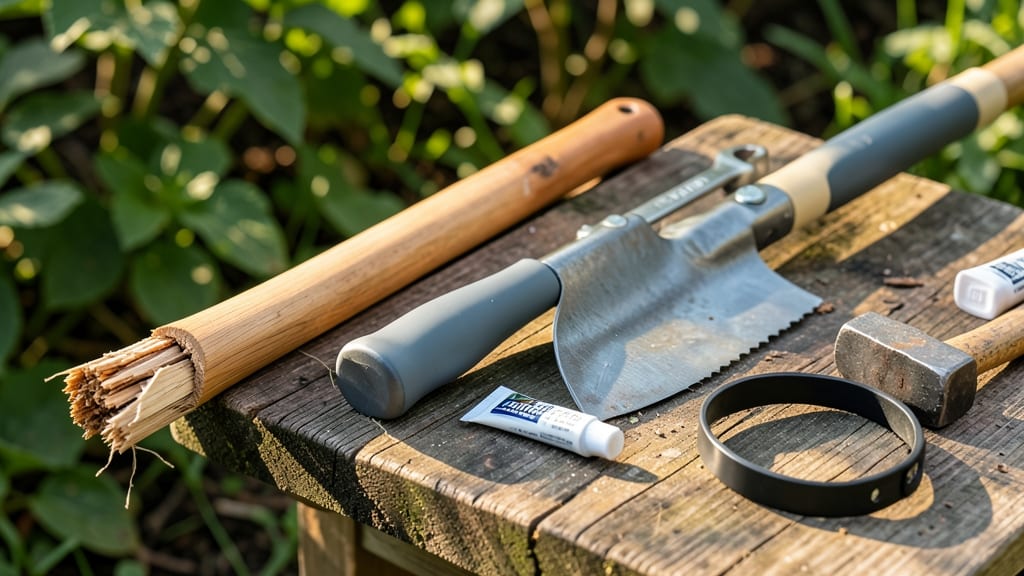
3 Fast garden hoe handle replacement methods for any budget
A broken garden hoe handle can turn your weeding session into a frustrating chore—but replacing it doesn’t have to be complicated or expensive.
Whether your handle snapped under pressure or simply wore down over time, these quick fixes will get you back to cultivating your garden like a pro in minutes. The good news? You don’t need specialized tools or expensive materials for a durable repair.
Let’s explore three methods tailored for gardeners of all skill levels, from quick temporary fixes to long-term solutions.
Before you begin, gather your tools: a hacksaw, screwdriver, duct tape, epoxy glue, wood glue, clamp, and a measuring tape. Safety first—wear gloves to protect your hands from splinters or sharp edges when working with broken handles.
Now, let’s dive into the methods that will restore your hoe to its full potential.
Method 1: Temporary Fix with Duct Tape (Under $5)
- Step 1: Clean the broken handle ends with sandpaper to remove rough edges or splinters. This ensures a smoother surface for the tape to adhere.
- Step 2: Wrap the broken ends with heavy-duty duct tape, overlapping each layer by 1 inch. Use at least 3-4 layers for stability.
- Step 3: Secure the tape tightly around the handle’s grip area to create a makeshift connection. This method works best for short-term use or minor cracks.
- Step 4: Test the handle’s strength by gently pulling it apart. If it holds, you’re ready to use your hoe immediately. For added durability, apply a second layer of tape.
Best for: Emergency fixes, light-duty weeding, or when you’re waiting for a permanent solution.
Method 2: Epoxy Glue Repair (Under $10)
- Step 1: Sand the broken ends of the handle to create a rough surface for better adhesion. Use 120-grit sandpaper for optimal results.
- Step 2: Apply a thin layer of epoxy glue to both broken ends. Use a toothpick to spread the glue evenly into the cracks.
- Step 3: Press the handle ends together firmly and clamp them in place for 24 hours to allow the epoxy to cure completely.
- Step 4: Once cured, sand any excess glue with fine-grit sandpaper to smooth the surface. Wrap the repaired area with electrical tape for extra protection.
Best for: Wooden handles, moderate use, or when you need a slightly more durable fix than duct tape.
Method 3: Permanent Replacement with Wooden Dowel (Under $15)
- Step 1: Measure the length of your original handle and cut a wooden dowel (like oak or maple) to match using a hacksaw. Ensure it’s slightly longer than needed for trimming later.
- Step 2: Drill a hole in the dowel’s center using a drill bit that matches the diameter of your hoe’s handle socket. This ensures a snug fit.
- Step 3: Apply wood glue to the socket of your hoe head and insert the dowel. Use a clamp to hold it in place for 1-2 hours while the glue dries.
- Step 4: Sand the dowel to your desired length and smooth any rough edges. For added grip, wrap the handle’s end with grip tape or rubber tubing.
Best for: Long-term use, heavy-duty gardening, or when you want a handle that matches your hoe’s original design.
For gardeners on a tight budget, the duct tape fix is a lifesaver for quick repairs, while the epoxy glue method offers a balance between cost and durability. If you’re looking for a permanent solution, investing in a wooden dowel will give you a handle that lasts for years.
Each method caters to different needs, so choose the one that aligns with your gardening goals and available tools.
Pro tip: If your hoe handle is made of fiberglass or metal, skip the wood glue and epoxy methods. Instead, use a pipe repair clamp or metal epoxy for a secure fit. Always test your repaired handle before heavy use to ensure it meets your strength requirements.
Remember, the key to a successful hoe handle replacement lies in preparation and patience. Take your time to measure, sand, and secure each component properly. A well-repaired handle will make your gardening tasks easier and more enjoyable, allowing you to focus on what matters most—nurturing your plants.
Now that your hoe is back in action, you’re ready to tackle weeds and cultivate your garden with confidence. Happy gardening! 🪓
How to choose the right replacement handle for your hoe
Selecting the perfect hoe handle replacement depends on your gardening needs, budget, and the type of work you do. A durable handle ensures comfort and efficiency—whether you're weeding, tilling, or cultivating.
The wrong choice can lead to discomfort or even another break. Let’s break down the key factors to consider before buying.
First, examine your hoe head design and existing handle length. Most garden hoes require a handle between 24 to 36 inches for optimal leverage. If your current handle is too short, opt for a longer one to reduce strain on your back.
Measure your old handle or take it with you to the store for a precise match.
Your choice of material will impact durability, weight, and cost. Wood offers a classic feel but requires maintenance, while fiberglass is lightweight and resistant to rot. Metal handles are sturdy but can be heavy. Each material has trade-offs, so let’s compare them in detail below.
Handle Material Comparison
Wood
- ✅ Pros:
- - Classic, comfortable grip
- - Lightweight and affordable
- - Easy to customize with sandpaper
- ⚠️ Cons:
- - Requires sealing/staining
- - Can splinter or rot over time
Fiberglass
- ✅ Pros:
- - Lightweight and rot-resistant
- - Affordable and low-maintenance
- - Won’t splinter like wood
- ⚠️ Cons:
- - Less grip in wet conditions
- - Can feel less premium than wood
Metal
- ✅ Pros:
- - Extremely durable and long-lasting
- - Resists warping and rot
- - Often comes with ergonomic grips
- ⚠️ Cons:
- - Heavier than wood or fiberglass
- - More expensive upfront
Don’t overlook ergonomic design when choosing a handle. Look for handles with a slight bend or padded grips to reduce hand fatigue during long gardening sessions. A handle that’s too straight can cause wrist strain, while a slightly angled one mimics your natural hand position.
Finally, consider your hoe’s intended use. Heavy-duty hoes for tilling may need a metal or reinforced fiberglass handle, while lightweight weeding hoes benefit from a wooden or lightweight fiberglass option. Always test the handle’s weight and balance before finalizing your purchase.
With the right handle, your hoe will feel like new again—ready to tackle weeds, loosen soil, and keep your garden thriving. Happy digging! 🪓