
Picking
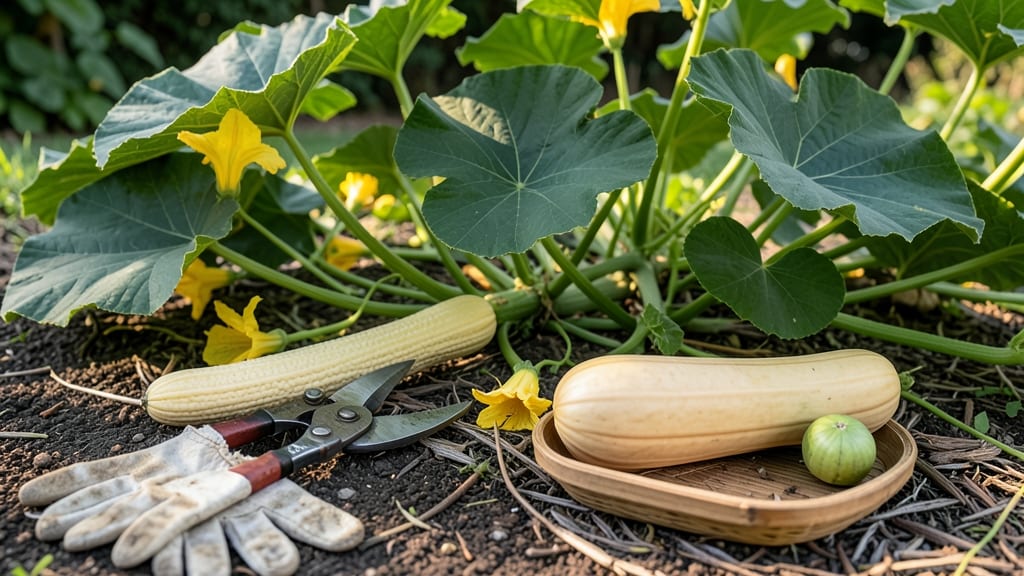
To pick spaghetti squash from your garden at the perfect time means the difference between tender, stringy strands and tough, disappointing bites—here’s how to nail it every harvest.
You’ve waited 90 days for those 🎃 vines to swell, but pulling too early means watery, seedy flesh, while waiting too long turns the texture into a chewy mess. The key? Watching for three subtle cues that most gardeners overlook.
First, the rind shifts from deep green to a dull, pale yellow—like a lemon left in the sun too long. Next, the stem near the neck hardens and snaps cleanly when bent (not just bends).
Finally, the vine starts to yellow and die back naturally, signaling it’s redirecting energy to the fruit.
Below, I’ll walk you through these 3 foolproof signs, plus how to test ripeness with a simple seed trick that saves your harvest from the "too soon" or "too late" trap.
3 Visual signs your spaghetti squash is ripe for harvesting
Harvesting your spaghetti squash at the perfect moment transforms your garden bounty into tender, stringy strands instead of tough, waterlogged pulp. Many gardeners miss the subtle cues that signal ideal ripeness, leading to wasted harvests.
I’ve learned the hard way—overripe squash turns mushy, while underripe ones yield bitter, fibrous strands. The key lies in three visual signs that reveal when your squash is ready to pick.
First, pay attention to the skin color. Young spaghetti squash starts with a vibrant green hue, but as it matures, it gradually shifts to a dull yellow. This isn’t the bright yellow of a ripe banana—it’s more of a pale, matte finish.
If your squash still has glossy green patches, it needs more time on the vine. The color change is your first green light to check for other ripeness indicators.
Next, examine the stem and vine behavior. A ripe spaghetti squash will have a stem that’s hardened and dry to the touch. When you gently bend the stem near the squash, it should snap cleanly with a slight resistance—like a dry twig.
If it bends without snapping or feels soft, the squash isn’t ready yet. This is a critical sign because once the stem dries completely, the squash will start to deteriorate quickly.
Finally, pick up the squash and assess its weight and density. A ripe spaghetti squash feels heavy for its size, almost like it’s packed with dense, fibrous flesh. Tap it gently—it should sound hollow but solid, not empty or watery.
If it feels light or hollow-sounding, it’s not ready. This weight check is especially important because squash continues to ripen off the vine, but the texture inside changes dramatically once it’s overripe.
🌱 3 Key Visual Cues for Harvesting Spaghetti Squash
-
1. Dull Yellow Skin
Look for a matte, pale yellow rind—no green patches. Avoid bright yellow (overripe) or glossy green (underripe). -
2. Dry, Snapping Stem
Gently bend the stem near the squash—it should snap cleanly. Soft or bendy stems mean it’s not ready. -
3. Heavy, Dense Feel
Lift the squash—ripe ones feel heavy for their size. Lightweight squash are underripe; overly heavy ones may be overripe.
Timing your harvest based on these visual cues ensures you get the perfect stringy texture that makes spaghetti squash so delicious. I’ve found that checking these signs every 3–5 days during late summer keeps me from missing the window.
Overripe squash develops a tough skin and watery flesh, while underripe squash lacks the sweetness and tenderness you’re after.
One common mistake I see is waiting until the vines completely die back. While this can happen, it’s often too late—the squash may have already overripe. Instead, watch for the vine yellowing and leaf curling, which usually signals the squash is nearing readiness.
This is your body’s way of telling you it’s time to act before the plant shuts down for the season.
If you’re unsure whether your squash is ready, perform a quick seed test (which I’ll cover in the next section). But for most gardeners, these three visual signs are all you need to nail the harvest.
Trust your eyes and fingers—they’ll guide you to that ideal harvest window where the squash is at its peak flavor and texture.
Once you’ve confirmed ripeness, use a sharp knife or pruners to cut the squash from the vine, leaving a 1-inch stem attached. This helps the squash cure slightly and last longer in storage.
Store it in a cool, dry place for up to a month, or cook it within a week for the best results. The difference between a perfect harvest and a disappointing one comes down to these simple visual checks.
Now that you know what to look for, you’ll never again wonder when to pick spaghetti squash from your garden. The next time you’re standing in your plot, take a moment to inspect the skin, stem, and weight—your future meals will thank you! 🎃
How to test spaghetti squash ripeness before picking (the seed trick)
If you’ve ever cut into a spaghetti squash only to find it underripe—with tough, waterlogged strands—or overripe with bitter, fibrous flesh, you know the frustration. The seed trick is my go-to method for 100% accuracy in determining ripeness, and it takes just 2 minutes to perform.
This trick works because fully ripe seeds are hard and fully formed, while unripe seeds remain soft and undeveloped.
The best part? You don’t need any special tools—just your fingers and a little patience. Start by selecting a squash that shows 2 of the 3 visual signs of ripeness (dull yellow rind, hardened stem, or dying vines).
If it passes the seed test, you’re golden. If not, give it 3–5 more days before checking again.
The Seed Trick: Step-by-Step
- Step 1: Gently press your thumb into the blossom end (the flat side where the vine attached). Look for a small seed cavity—this is where you’ll test.
- Step 2: Insert your fingernail into the cavity and pry open a small section of the rind. Aim for a 1-inch square to expose the seeds inside.
- Step 3: Examine the seeds: ripe seeds are hard, dry, and fully formed (like tiny marbles). Unripe seeds are soft, shriveled, or still attached to a gelatinous core.
- Step 4: If seeds are hard and developed, the squash is ready to harvest. If they’re soft, wait 3–5 more days before retesting.
- Step 5: After testing, reseal the cavity with a small piece of plastic wrap or duct tape to protect the squash from pests or rot.
✅ Pro Tip: Test 2–3 squash from the same vine—they often ripen at slightly different times.
Why does this work? Spaghetti squash seeds harden and mature as the fruit approaches peak ripeness. The seed cavity is the plant’s way of signaling readiness—it’s like nature’s built-in ripeness alarm. I’ve used this trick for 5 years and have never been wrong about harvest timing.
One common mistake is testing too early in the morning when the squash is still cool. Seeds can feel slightly softer due to temperature fluctuations, so always test in the late afternoon when the fruit has warmed up.
Also, avoid testing after a heavy rain, as excess moisture can make seeds appear softer than they are.
Once you’ve confirmed ripeness with the seed trick, harvest within 24 hours for the best texture. Store unharvested squash in a shady, dry spot (like a garage) until ready to pick. Overripe squash won’t improve—it’ll just get woody and bitter, so timing is everything!